
Documentation Index

Fetch the complete documentation index at: https://docs.frontic.com/llms.txt

Use this file to discover all available pages before exploring further.

Build a real feature on your Frontic project and see what the workflow looks like end to end — both in Studio and in your own editor.
Prerequisite: A project with data and a Context Base set up. If you don’t have one yet, do Quick Setup first.

What you’re building

A product search page at /products with:
  • a Search Listing that returns products from your Data Storage
  • filters for category and variants
  • sorting by price and product name
  • full-text search
  • a frontend page that renders the results

In Studio

Open Studio from the sidebar and paste the following prompt:

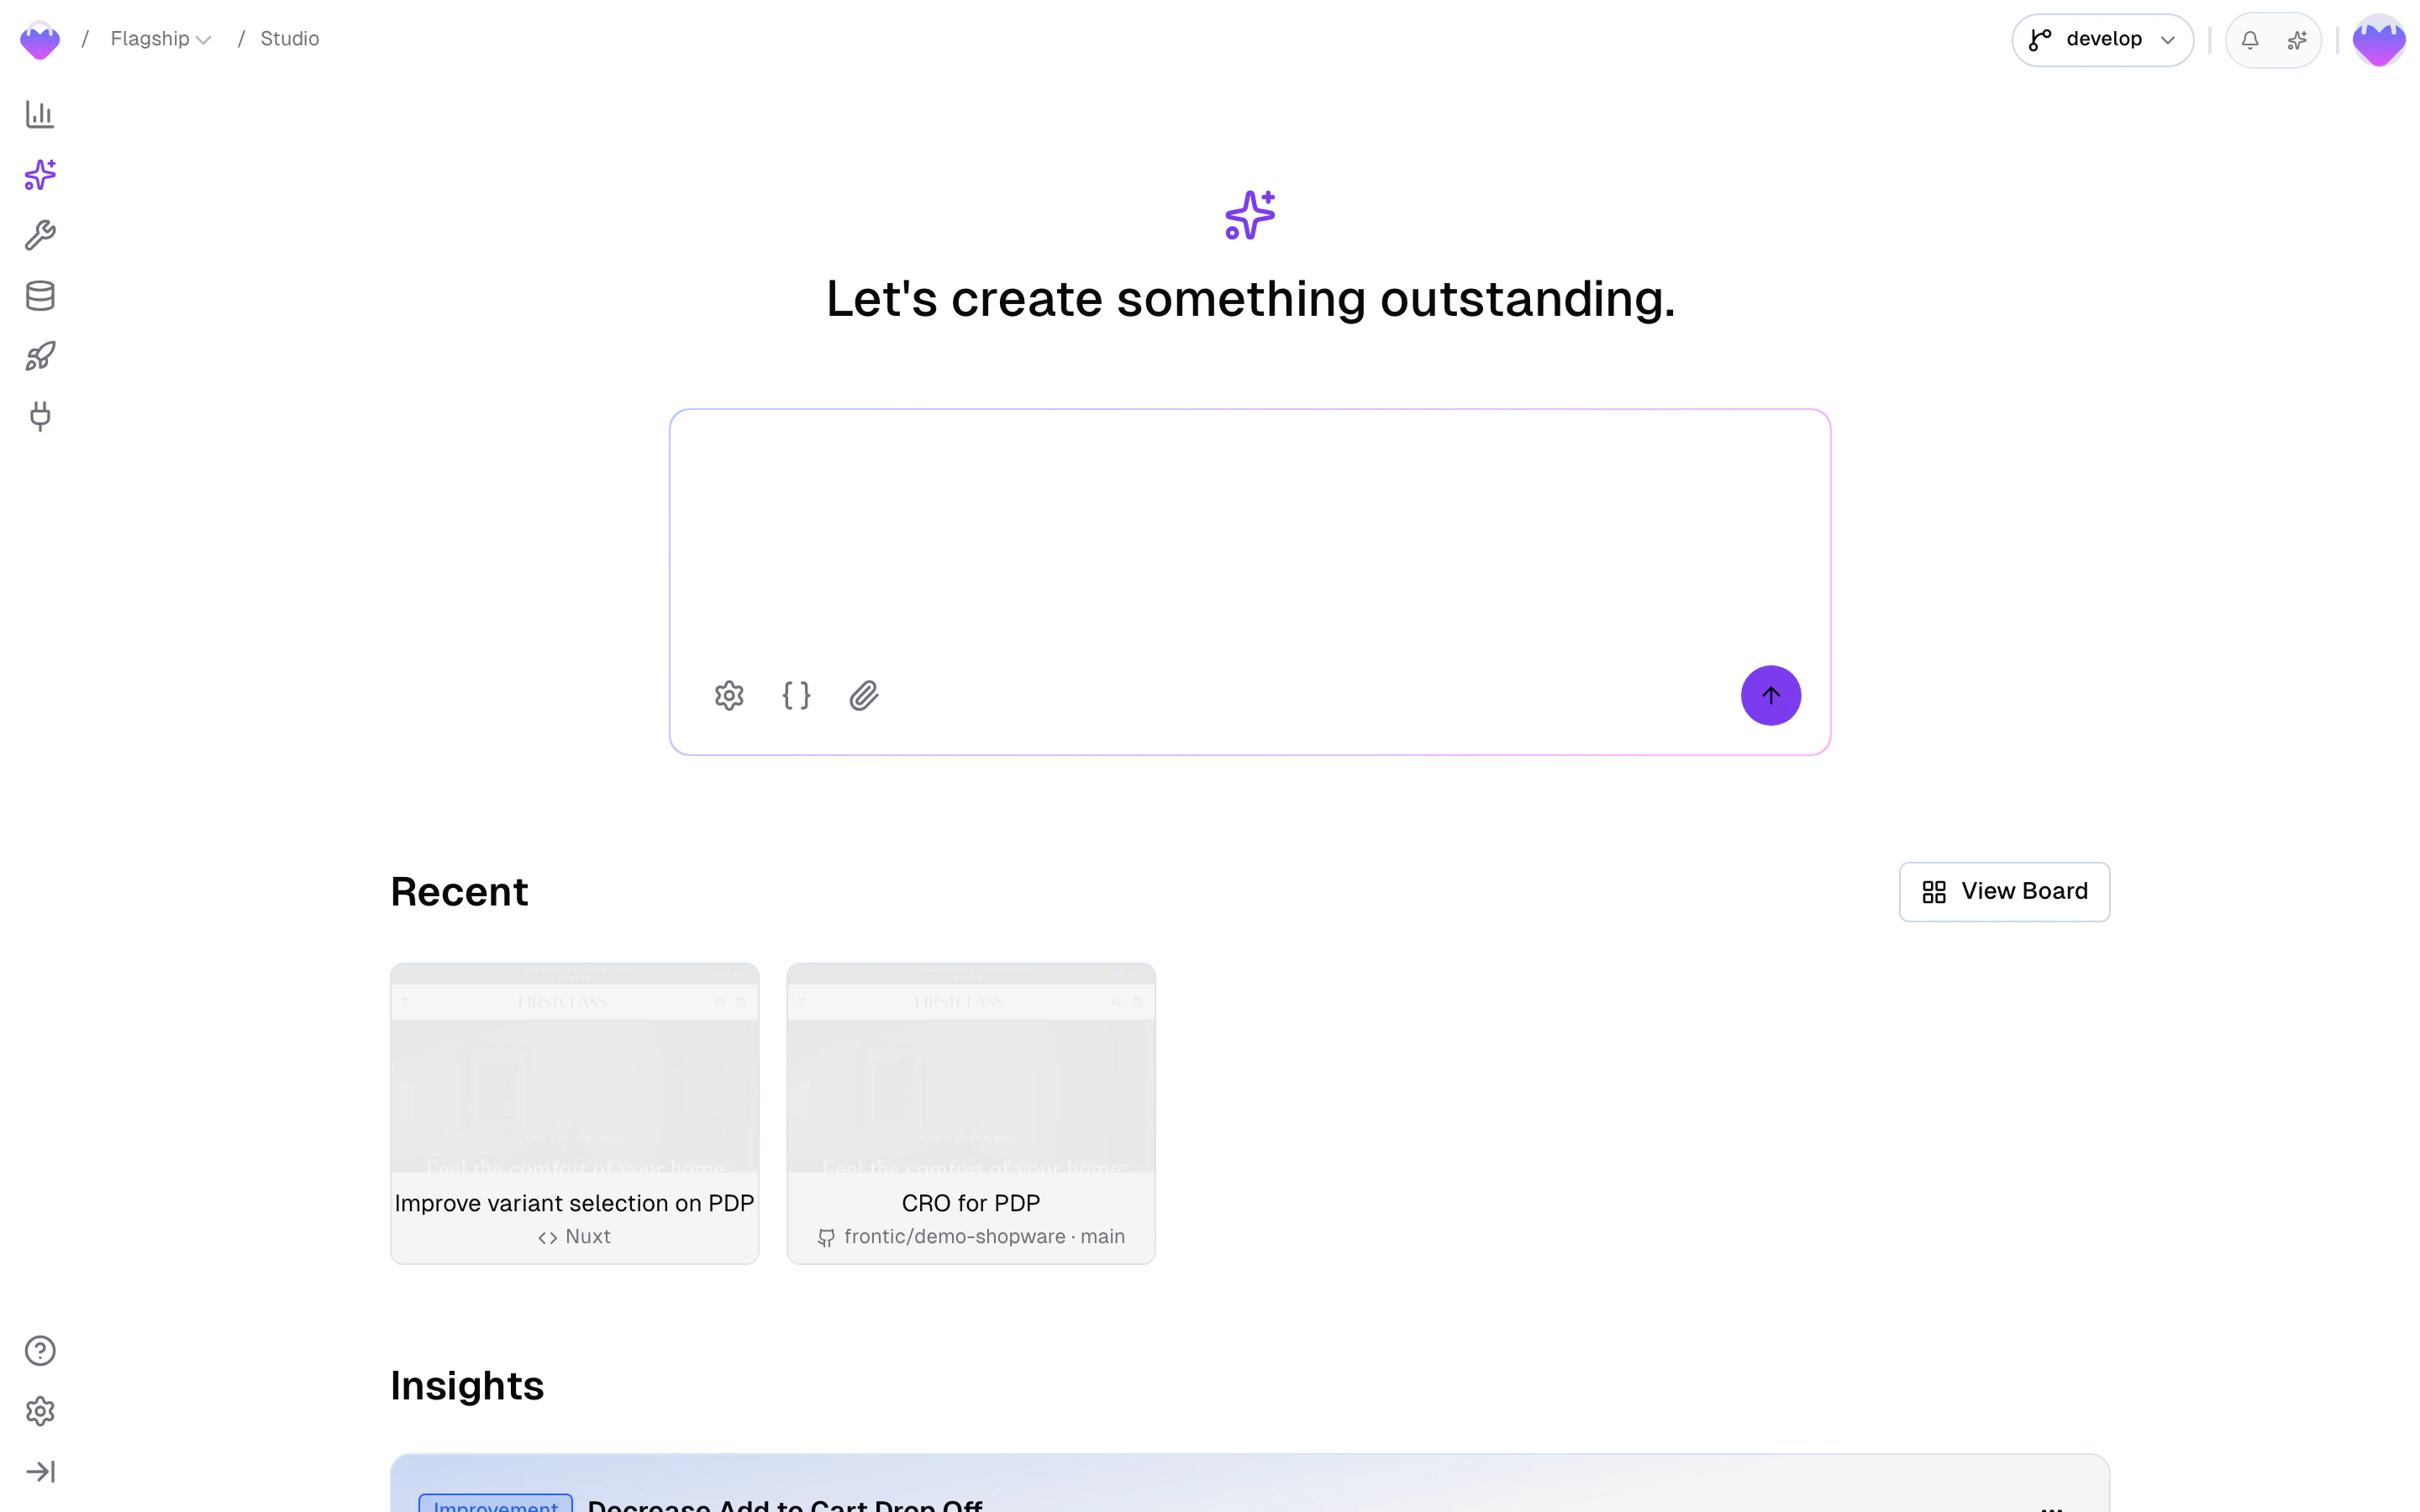
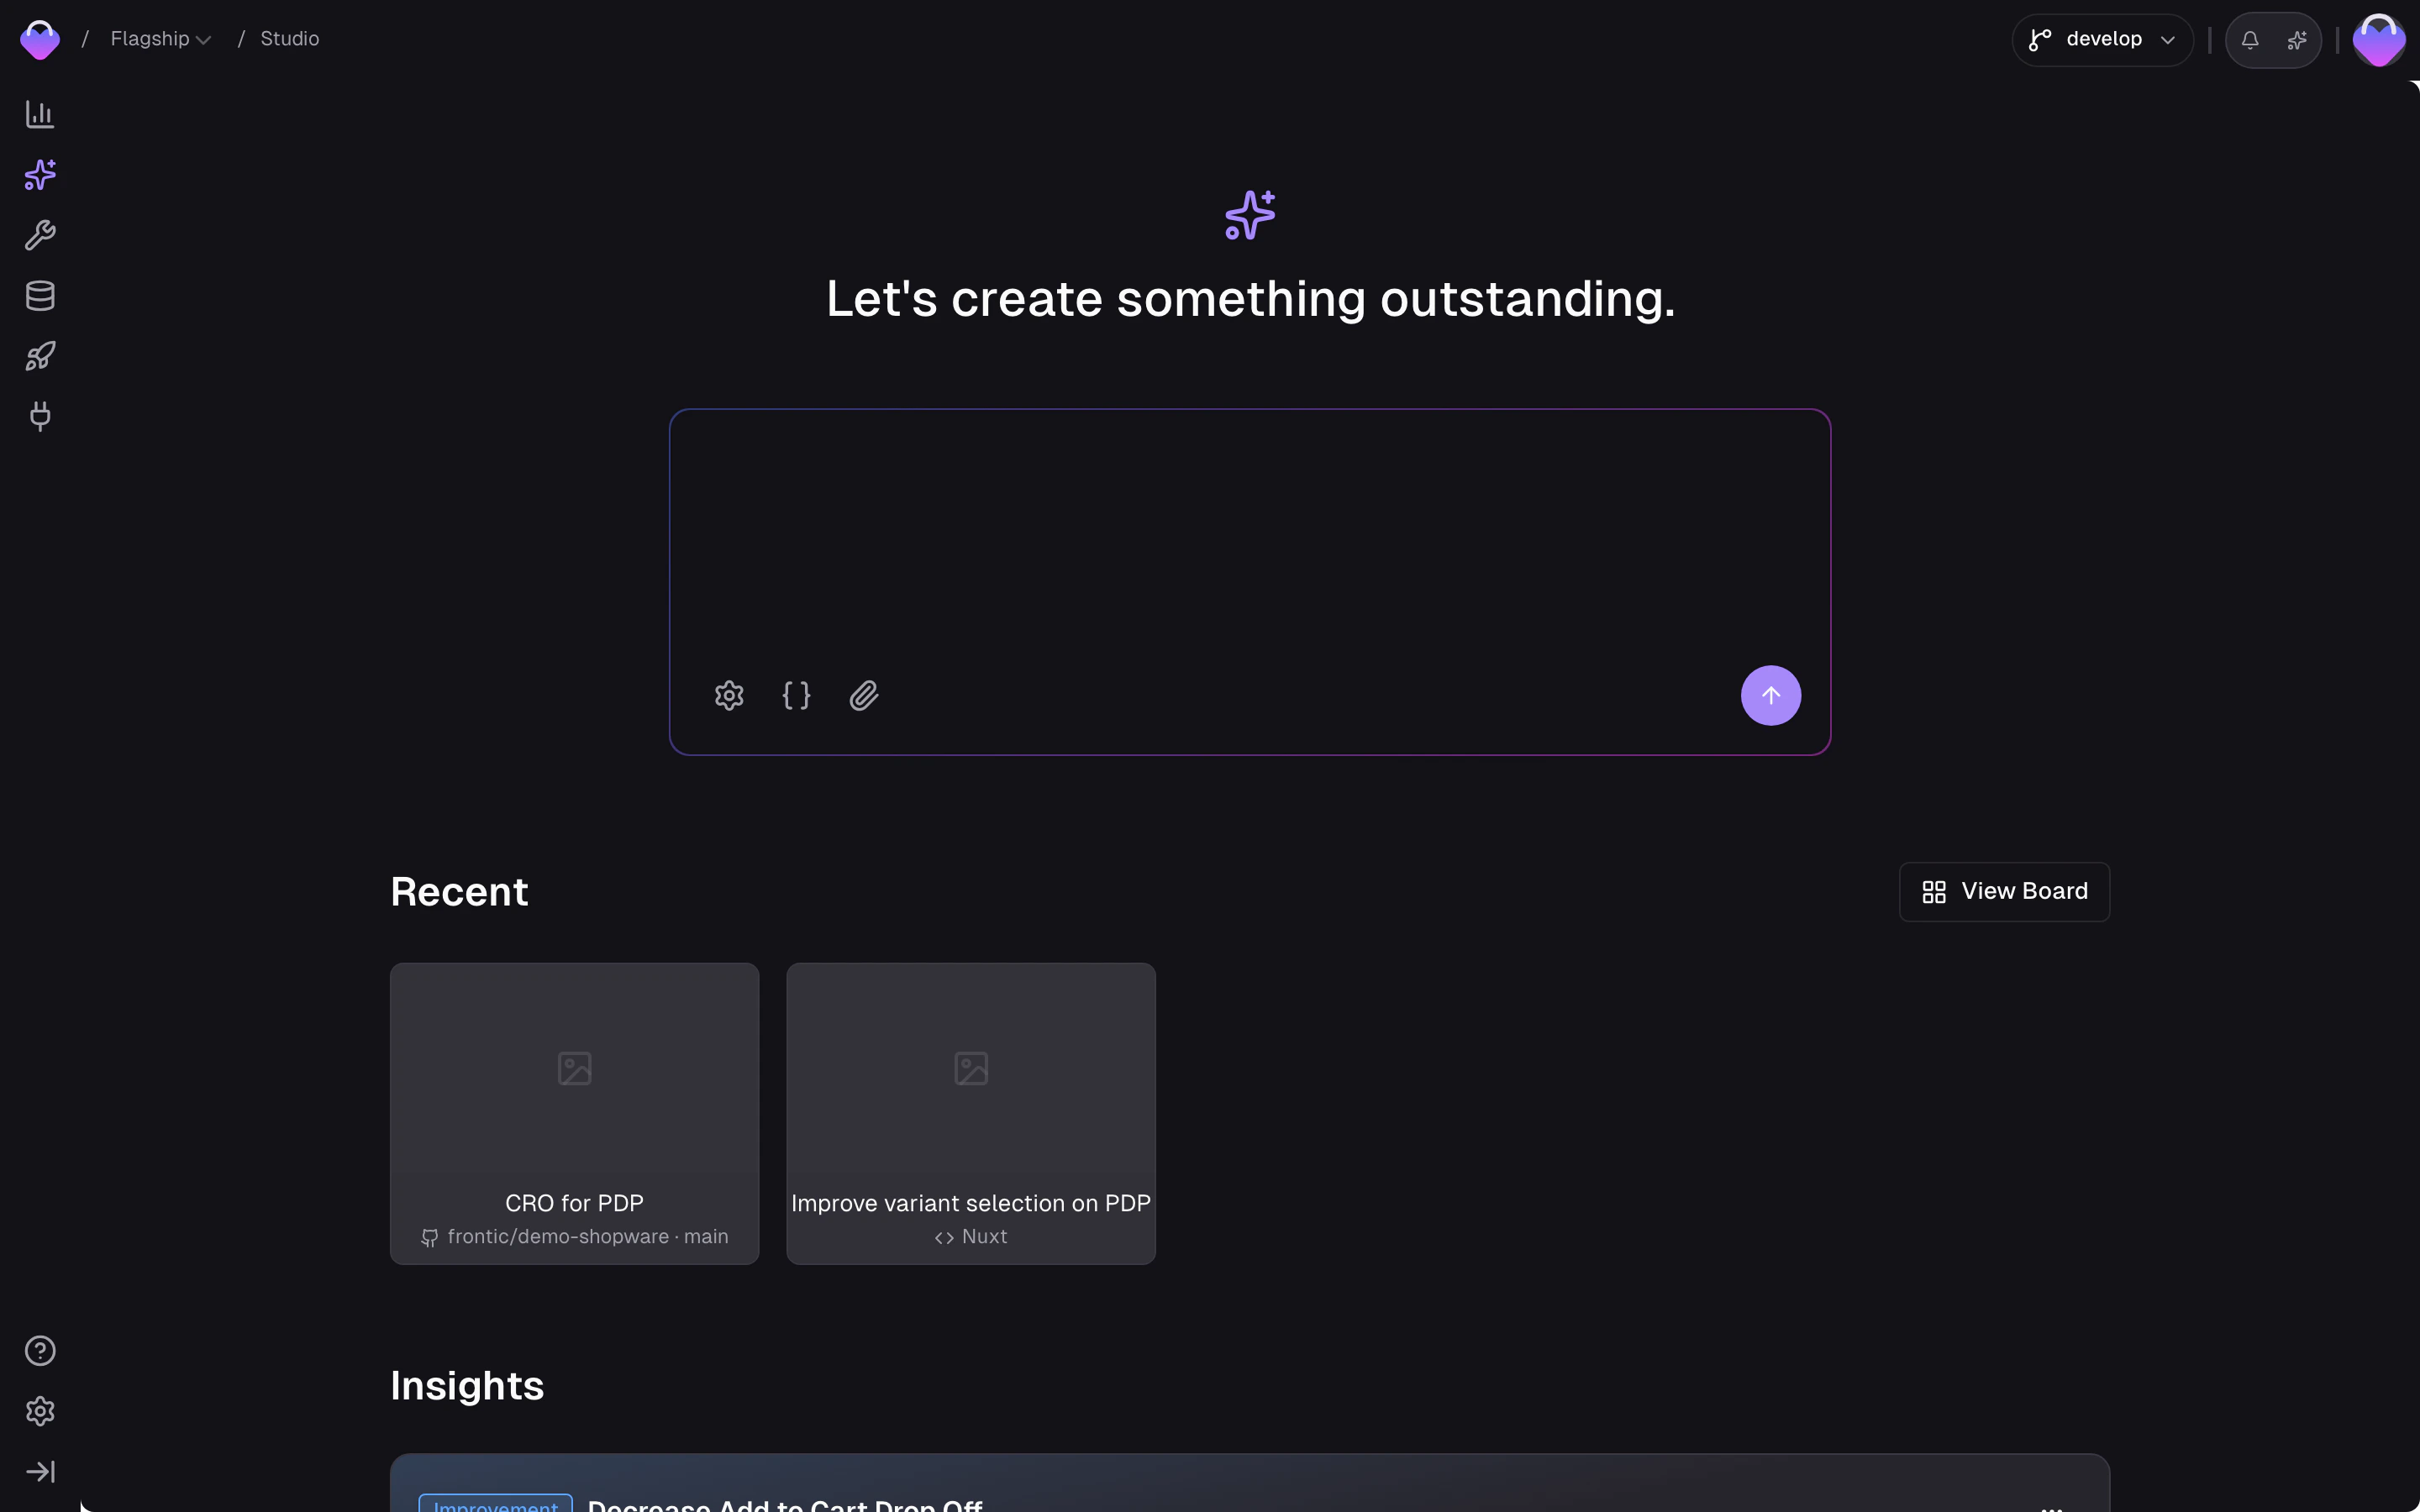
Tell Studio to build a product search page for you

Studio creates a workspace and gets to work. You’ll see the live preview update as it builds — the search listing, the page route, the frontend components, all wired together.

Review and iterate

Once the first version is up in the preview, check the result:
  • Does the layout look right on desktop? Switch to mobile viewport and check there too.
  • Share the preview link with a teammate for a second opinion.
  • Not happy with something? Tell Studio in the chat what to change — it’ll iterate until you’re satisfied.
This loop — preview, feedback, iterate — is where Studio shines. Keep going until the page looks and works the way you want.

Ship it

When you’re happy with the result:
  1. Commit and push the changes from the workspace.
  2. Open a pull request on GitHub.
  3. Merge and deploy.
See GitHub Integration for the full shipping flow.

In your editor

Same feature, built from your own editor using Nuxt with the Frontic Nuxt module, the CLI, and MCP.

Create a Nuxt project

pnpm dlx nuxi@latest init my-shop --module @frontic/nuxt
cd my-shop

Log in and set up your project

frontic login
frontic project
frontic mcp init --client cursor
frontic context init
This logs you in, selects your project, installs the MCP server for your editor (swap cursor for claude, vscode, windsurf, or codex), and syncs your Context Base so the agent knows your project conventions.

Build the feature

In Claude Code, Cursor, or any MCP-connected editor, describe the full feature:

Have your editor agent build the same search page end to end

The agent uses the MCP server to configure the backend, generates the SDK via the CLI, scaffolds the frontend, and opens a dev server — all from one prompt. The following steps break down what happens under the hood.

Create the backend

Your frontend needs a backend that serves product data in the right shape. The fastest way to set that up is to let Buddy handle it — paste this into the chat:

Ask Buddy to set up the search backend in the admin app

Want full control? You can set it all up yourself through the API Builder:
  • Create a Block called ProductCard from the Products data storage — see Detail Blocks
  • Create a Listing called ProductSearch that returns ProductCard blocks — see Search Listings
  • Configure filter and sorting options on the listing

Generate the client SDK

frontic generate
This writes a typed SDK into your project. The ProductSearch listing is now available as a composable.

Build the search page

Create pages/products.vue:
<script setup lang="ts">
const {
  data,
  result,
  state,
  searchTerm,
  addFilter,
  removeFilter,
  sortResult,
  loadNext,
  reset,
} = useFronticSearch("ProductSearch", {}, {
  filter: {
    select: ["properties.category", "properties.size"],
    label: { "properties.category": "Category", "properties.size": "Size" },
  },
  sorting: {
    options: {
      "price-asc": { field: "price", direction: "asc", label: "Price: Low to High" },
      "price-desc": { field: "price", direction: "desc", label: "Price: High to Low" },
      "name-asc": { field: "name", direction: "asc", label: "Name: A–Z" },
    },
  },
});
</script>

<template>
  <div>
    <input v-model="searchTerm" placeholder="Search products..." />

    <div v-for="group in state.filter" :key="group.key">
      <h3>{{ group.label }}</h3>
      <button
        v-for="option in group.options"
        :key="option.value"
        @click="option.active ? removeFilter(group.key, option.value) : addFilter(group.key, option.value)"
      >
        {{ option.label }} ({{ option.count }})
      </button>
    </div>

    <select @change="sortResult(($event.target as HTMLSelectElement).value)">
      <option v-for="sort in state.sorting" :key="sort.key" :value="sort.key">
        {{ sort.label }}
      </option>
    </select>

    <div v-for="item in result" :key="item.key">
      <img :src="item.image?.url" :alt="item.name" />
      <h2>{{ item.name }}</h2>
      <p>{{ item.price }}</p>
    </div>

    <button v-if="data?.page?.next" @click="loadNext">Load more</button>
    <button v-if="state.active.count.filter > 0" @click="reset">Clear all</button>
  </div>
</template>
See the Nuxt module reference for the full useFronticSearch API.

Ship it

Commit, push, open a PR, deploy — same as any other change in your repo.

Next steps

Core Concepts

Understand the primitives you used — Data Storages, blocks, listings, pages, and releases.

Studio in depth

Everything Studio can do, in one place.