The Shopware connector pairs your Shopware 6 store with Frontic via a Frontic plugin you install in your Shopware admin. The plugin handles the hand-off both ways: it pushes catalog and content changes to Frontic via webhooks, and at install time it calls back into Frontic to provision a project that mirrors your store’s sales channels, currencies, and languages - feeds, storages, and syncs included.
Every variant as its own record, parent links preserved, prices resolved to the currency.
Categories
Power category pages, attach category context to other records, drive navigation.
CMS Pages
Shopping Experiences and Landing Pages with their section/block/element structure intact.
The plugin also works the other way round: it adds a Frontic Experience element to Shopware’s Shopping Experiences editor, so editors can build an AI-designed page in Frontic and publish it back into the layout. See Frontic Experiences in Shopware.The Shopware connector follows the standard integration model - see how integrations work for the shape of Connection, Channels, and Data Feeds. This page covers the Shopware-specific pieces: the plugin install, the onboarding hand-off, the channel and feed details, the data shape after normalization, and the Experience round trip.
With the plugin active, you can start the onboarding wizard on the plugin’s configuration page to provision your Frontic project end-to-end: it sets up the integration’s connection settings, creates one Channel per Shopware sales channel (with the matching currencies and translations), creates Data Feeds for Products, Categories, and CMS Pages, and seeds matching Data Storages and Data Syncs. On the project side it also creates one scope per sales channel, one region per channel/currency pair, and one locale per channel language.Before any of that runs, the wizard tests the Shopware connection from Frontic - if the keys are wrong or the host can’t be reached, it stops on a Connection-Test failed screen instead of provisioning a broken setup. See Troubleshooting the onboarding for the failure modes.
Open the onboarding
In Extensions → My extensions, click the Frontic row’s three-dot menu and choose Configure. Start the Onboarding wizard with the Start Onboarding button.
Sign in to Frontic
The wizard opens a Frontic auth window. Sign in or create the account that should own the new project, then approve the plugin’s permission request.
Confirm the project layout
Review the proposed scopes, regions, currencies, and locales mapped from your sales channels, then click Create project.
Done - the first sync starts
The plugin creates Data Feeds for products, categories, and CMS pages and triggers an initial backfill. From here on, Shopware changes flow to Frontic on every entity write.
When the connection check fails, the wizard shows a Connection-Test failed screen with the message Shopware returned and a failure type. Match it against the table below to find the fix - once the test passes, the wizard continues to provisioning automatically.
Failure
What it means
How to fix it
invalid_credentials (401)
Shopware rejected the keys the wizard generated.
Restart the wizard so it can issue fresh keys. If that still fails, fall back to the manual Integration account flow.
insufficient_permissions (403)
The Integration account exists but is missing read permissions.
If you can’t install the plugin in your Shopware environment - for example a managed setup where you can’t load custom extensions - you can connect manually using a Shopware Integration account.
Without the plugin, Frontic will not be notified of any data changes. You have to trigger updates manually.
Create an Integration account in Shopware
Open Integrations
In Shopware admin, go to Settings → System → Integrations and click Add integration.
Name the integration
Enter frontic-sync (or anything you’ll recognize later).
Assign read permissions
Assign a role with read access on: Product, Category, Sales channel, Currency, Language, Media, Manufacturers, Properties, Shopping Experiences, Landing Pages, Delivery times, Essential Characteristics, Scale Units, Tags, Tax. Plus read on the *_translation detailed privileges for product, media, manufacturer, property group, property group option, unit, delivery time, cross-selling, and feature set.
Copy the access keys
Save the integration, then copy the Access Key ID (SWIAMG…) and Secret Access Key (dXhZQ2…) - you’ll paste them into Frontic next.
In Frontic admin, Integrations → Add → Shopware asks for the host URL plus those two keys. With manual setup, you also build out the project (scopes/regions/locales) yourself in Project Settings - see Multi-Channel & Multi-Region - and create channels and feeds manually as covered below.
Display name for the integration in Frontic. Use something recognizable when you have multiple Shopware integrations (e.g. Shopware Production, Shopware Staging).
The Access Key ID of a Shopware Integration account (SWIAMG…). Created automatically by the plugin onboarding, or manually via Shopware Settings → System → Integrations.
The Secret Access Key paired with the API key (dXhZQ2…). Stored encrypted and redacted in logs.
The settings panel shows a Connection Status indicator. When the connection is broken, it surfaces the reason returned by the Shopware API (with sensitive details redacted) - so you can tell whether credentials are missing, the host is unreachable, or the keys were rejected. Update credentials here and re-test after rotating keys in Shopware.
A Shopware channel in Frontic maps a Shopware sales channel to the currencies and translations Frontic should pull from it. The plugin onboarding seeds one Frontic channel per sales channel; you can add more from Channels → Add.
Locale keys this channel covers. Validated against the languages the chosen Shopware sales channel actually serves; populated from the connector’s reference data.
Which Shopware sales channel this Frontic channel reads from. The dropdown is populated from your Shopware instance - hit Refresh if you’ve added a new sales channel since the integration last fetched.This selection also narrows product ingestion: a product needs a visibility entry for one of the sales channels selected across the integration’s channels to be fetched. See Product visibility.
Currencies (from the chosen sales channel) the connector pulls in. Product prices are pre-filtered to these currencies before they reach the Data Sync.
The Refresh button on the channel detail re-fetches sales channels, languages, and currencies from your Shopware instance - use it after you’ve added one of those on the Shopware side. For how channels become project scopes and locales at sync time, see Data Sync mapping in the overview.
The standard Settings → Updates → Schema setup wizard applies - see Data Feeds in the overview. For Shopware specifically:
Updates step - Shopware supports the Trigger update method (the plugin pushes webhooks). Scheduled polling and the Ingest API are not used; the plugin’s webhook stream is the source of real-time updates.
Manual refresh - every Shopware feed exposes a Refresh action that re-runs the feed against the source. Use it when something changed on the Shopware side that didn’t reach Frontic, or to recover from a webhook gap. Configuration changes - Value Composer, storage schema, sync mappings - don’t need a refresh; they revalidate automatically.
The Shopware integration only ingests products with a visibility entry for at least one of the sales channels selected across its channels. Products with no visibility - or visible only in sales channels you haven’t selected on any channel - won’t reach Frontic.The filter applies to every product read: full backfills, parent resolution for variants, and incremental batch fetches. A product that drops out of every selected sales channel in Shopware is reconciled away on the next feed run.If a product is missing in Frontic, open it in Shopware admin and check the Visibilities tab - it needs an active entry for one of the sales channels selected on a channel in this integration.
The connector fetches more than just the entity’s own fields - it pre-loads the associations a typical storefront needs, so your Data Sync doesn’t have to chase them.
A product with options is denormalized: the parent record carries the shared fields, each variant is a separate record linked back via parentId. Either side can drive a Detail Block - product-level for grids, variant-level for cart and detail views. See Product Models for the full picture.
For products, the connector pre-filters the prices array to the currencies declared on the channel and stamps every price element with currencyCode and currencyPrecision. Map those into the Price composite and you’re done - no per-region price-picking logic in your Value Composer needed.
All translatable fields are resolved at the connector level for every locale on the channel. Use the base field in your Data Sync (name, description) - not translated.name. Frontic’s Request Context picks the right localized value at response time. For categories, breadcrumb arrays are also de-indexed so the translated breadcrumb path is a clean list rather than a 0:..., 1:... map.
Shopware owns the URLs of its own storefront, and those URLs can’t be re-derived from a product name: the path template is configured per sales channel, merchants can override individual URLs by hand, and Shopware’s slugifier preserves case and dots where a generated slug wouldn’t. So the connector imports the path Shopware actually serves rather than guessing at it.
Field
What it holds
seoPath
The record’s own storefront path, resolved for the sales channel and language being read. Available for products and categories alike.
seoPaths
Products only - a Variant Field with one path per variant, index-aligned with the block’s variants list, so seoPaths[i] is the path for variants[i]. Categories have no variants, so they carry only the plain seoPath.
Values are relative paths - a category path like Clothing/Jackets, a product path like Winter-Jacket/10042 - with no leading slash and no domain. That’s what an embedded experience needs, and it survives a merchant moving the shop to a different domain.Resolution is per sales channel and per language, and it never borrows a sibling language’s path - an English path served on a German domain is a 404. Where Shopware has no canonical URL for a given combination, the value falls back to Shopware’s own detail/<id> (products) or navigation/<id> (categories) route, which the storefront serves whether or not the SEO indexer ever ran. A seoPath you get back is always a path that resolves, so your frontend never needs a fallback of its own.
seoPath is notslug. Slugs drive Page URLs for storefronts Frontic hosts - see URLs, Redirects & SEO. seoPath is the address of the same content on the Shopware storefront, which is what an experience embedded in a Shopware layout has to link to. Two different addresses for one record; don’t map one onto the other.
Integrations onboarded through the plugin wizard get these fields automatically - in the storage, in the Data Sync mapping, and on the blocks it creates. Existing integrations pick up nothing on their own, because onboarding is the only thing that creates schema. Opting one in is a manual job:
Add SEO paths to an existing integration
Don’t re-run the onboarding wizard to pick this up. Onboarding builds a project from scratch rather than migrating one - running it again duplicates your storages, blocks, and Data Syncs instead of adding the fields.
Add the storage fields
On the product and/or category Data Storage, add a seoPath field - String, translatable.On products, add a mainSeoPath field too, with Shared Across Variants on. Variant records each carry their own path, so a product-level block field needs a shared field to read from; seoPath alone stays empty on the parent record.
Map them in the Data Sync
In the Value Composer, map each field as a Schema Field slot pointing at the feed record’s seoPath. No modifiers - the value is already the exact path Shopware serves, and a modifier chain reintroduces the drift this field exists to remove.
Expose them on your blocks
On each Detail Block that should carry a link: add seoPath as a plain field (from mainSeoPath on a product block), and seoPaths as a Variant Field reading the variant-level seoPath.
Re-sync the feed
Hit Refresh on the Data Feed so existing records are recomposed with the new mapping.
When a feed runs (refresh, full backfill), the connector diffs Shopware’s current state against what Frontic has on the feed and emits deletes for products, categories, or CMS pages that have disappeared on the Shopware side. Your storage doesn’t accumulate orphan records when items are removed in Shopware.
From the categoriesRo association, the connector also extracts a flat list of category IDs and stamps them onto the feed record under the reserved $rel namespace as $rel.categoryIds. Category-link blocks (or any sync that just needs the IDs without the full association payload) can map this directly in the Value Composer - no need to walk categoriesRo to pluck IDs out yourself.
The plugin does more than push data one way. It also adds a Frontic Experience element to Shopware’s Shopping Experiences editor, so a content editor can create an AI-designed page in Frontic from inside the Shopware admin and publish it back into the same layout.
This is the Shopware half of the Experience Designer, which is in Preview. The Designer itself - the canvas, versions, and the design agent - is documented under Build in Frontic.
The round trip is short: place the element, build the experience in Frontic, publish, and the layout renders it. Shopware keeps owning the URL, the routing, the SEO, and the sales-channel assignment; Frontic owns what’s inside the slot. Product and category links inside the experience point at the shop’s real storefront pages, using the SEO paths the connector imports.
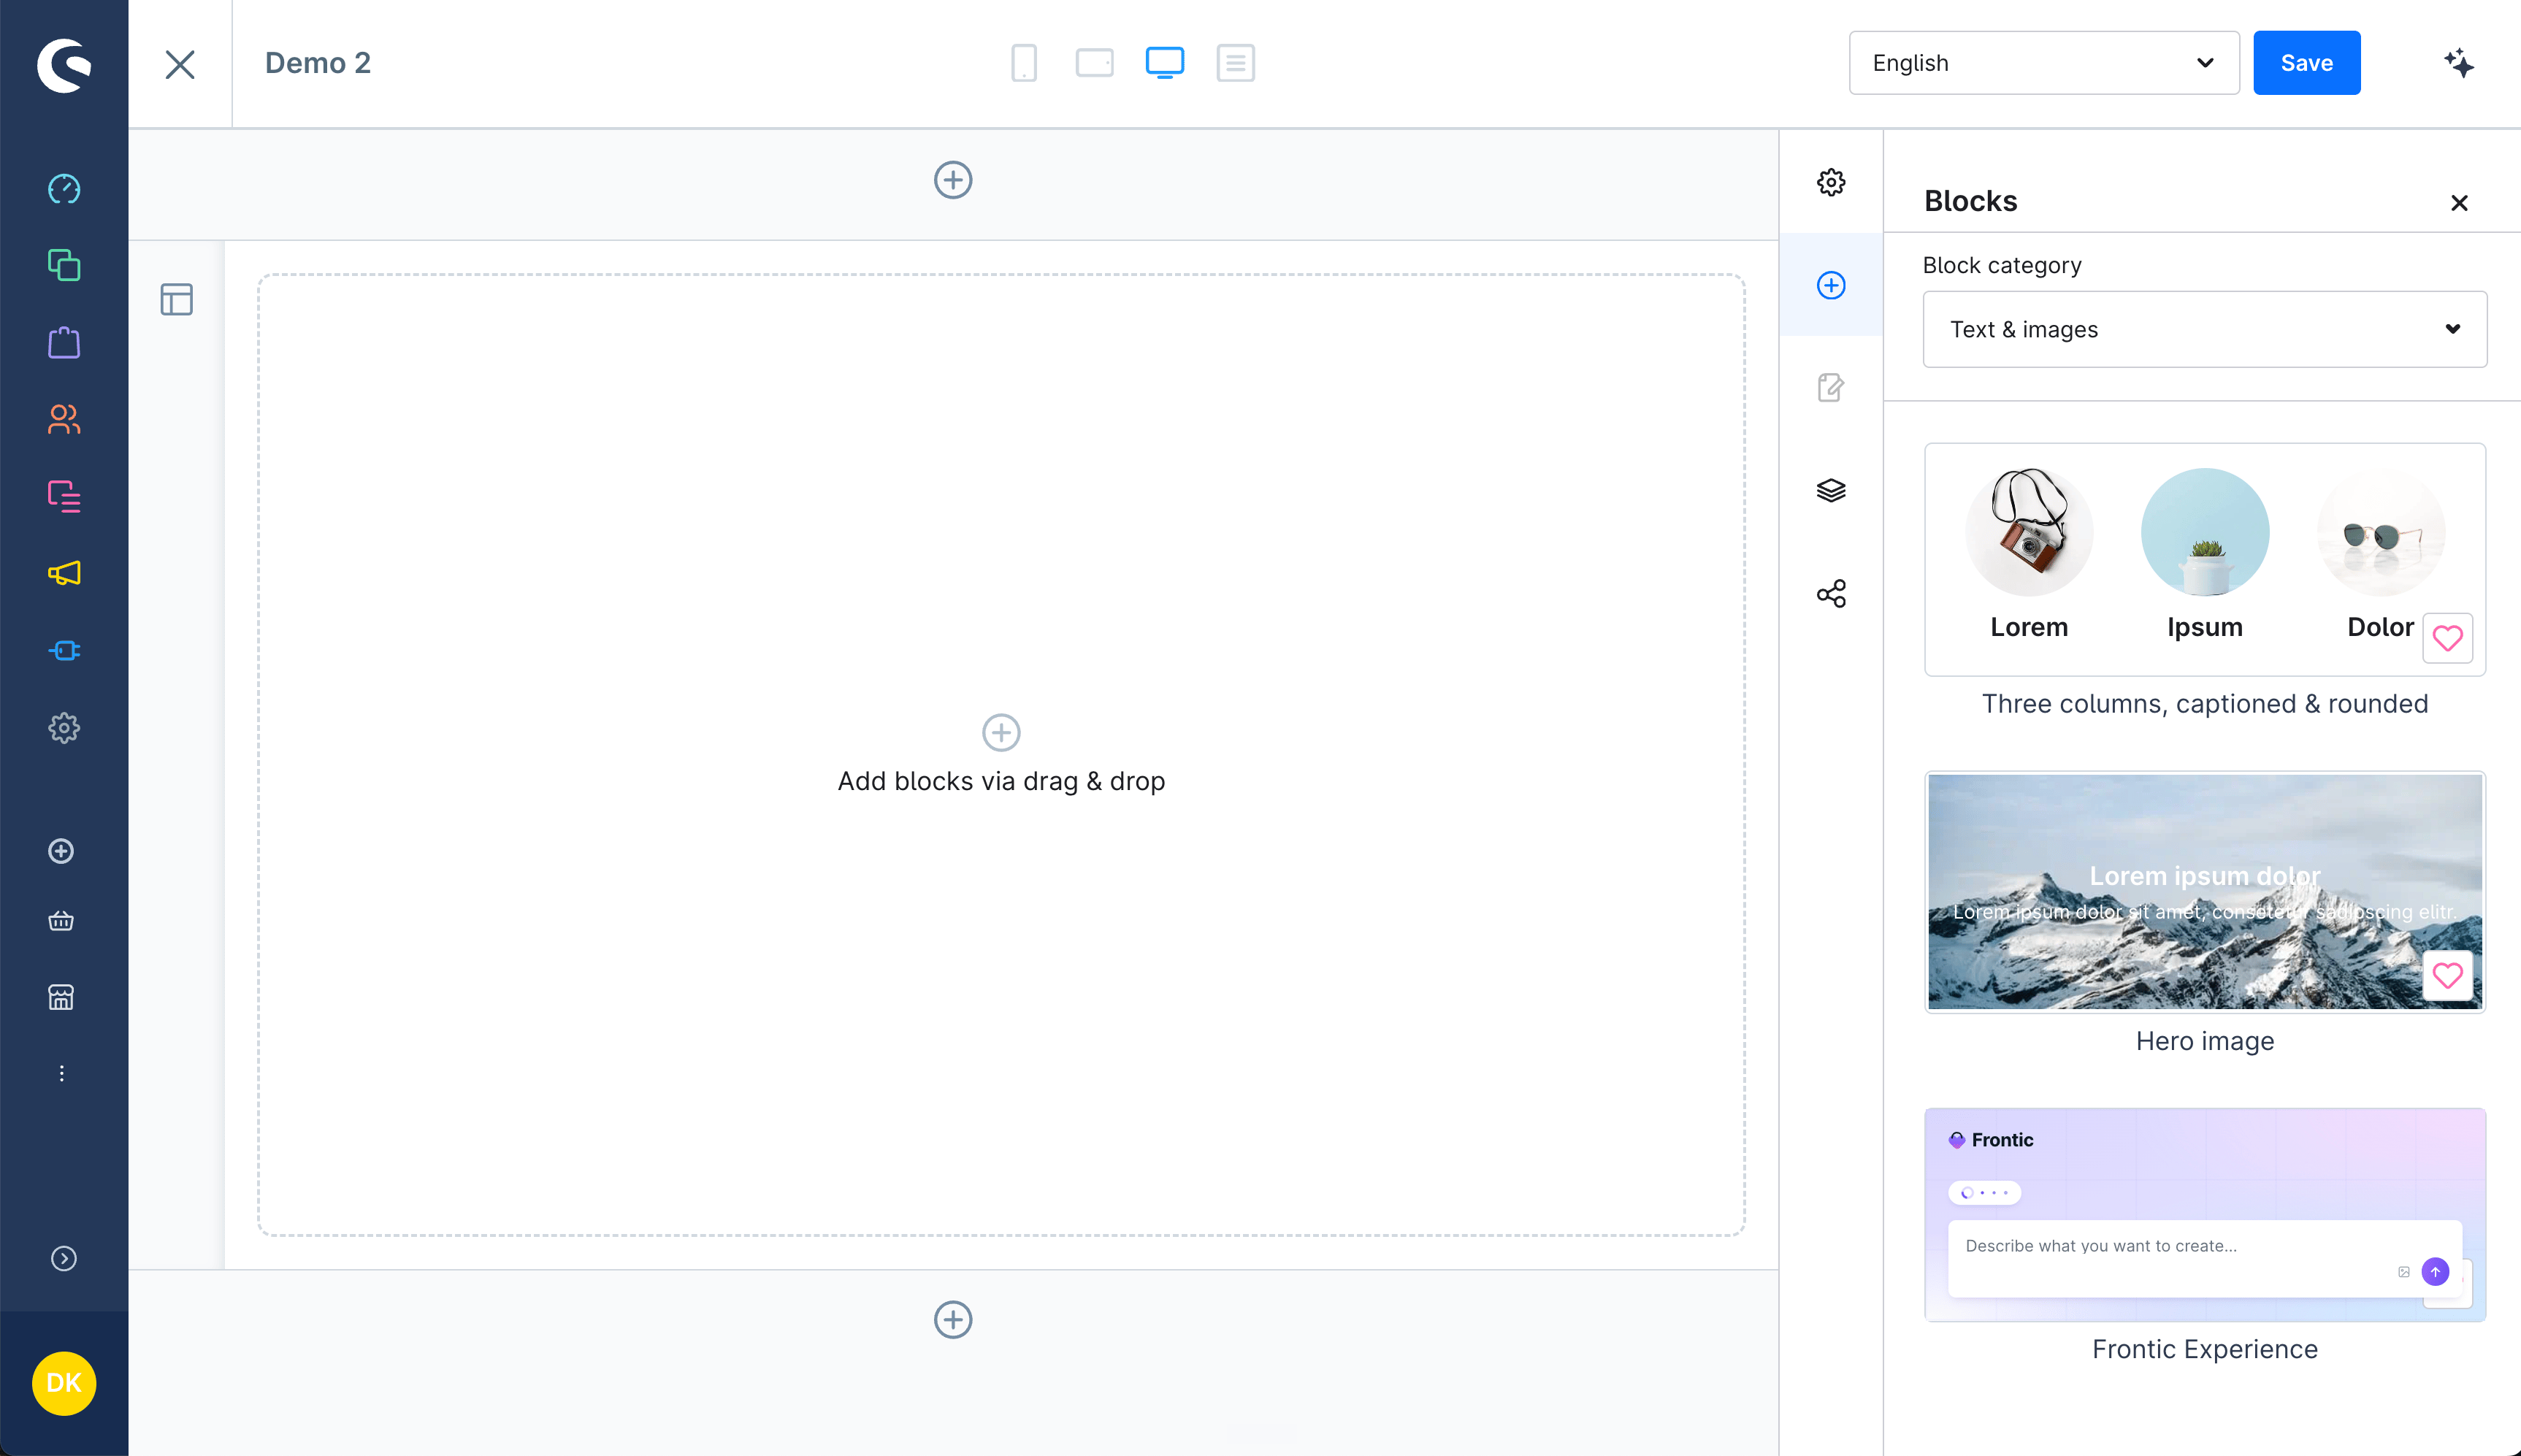
In Shopware admin, open Content → Shopping Experiences and edit
(or create) a layout. In the block picker, find Frontic
Experience under Text & images and drop it into a section.
Frontic Experience block in the Shopware admin
It works in Shopping Experience layouts and Landing Pages alike.
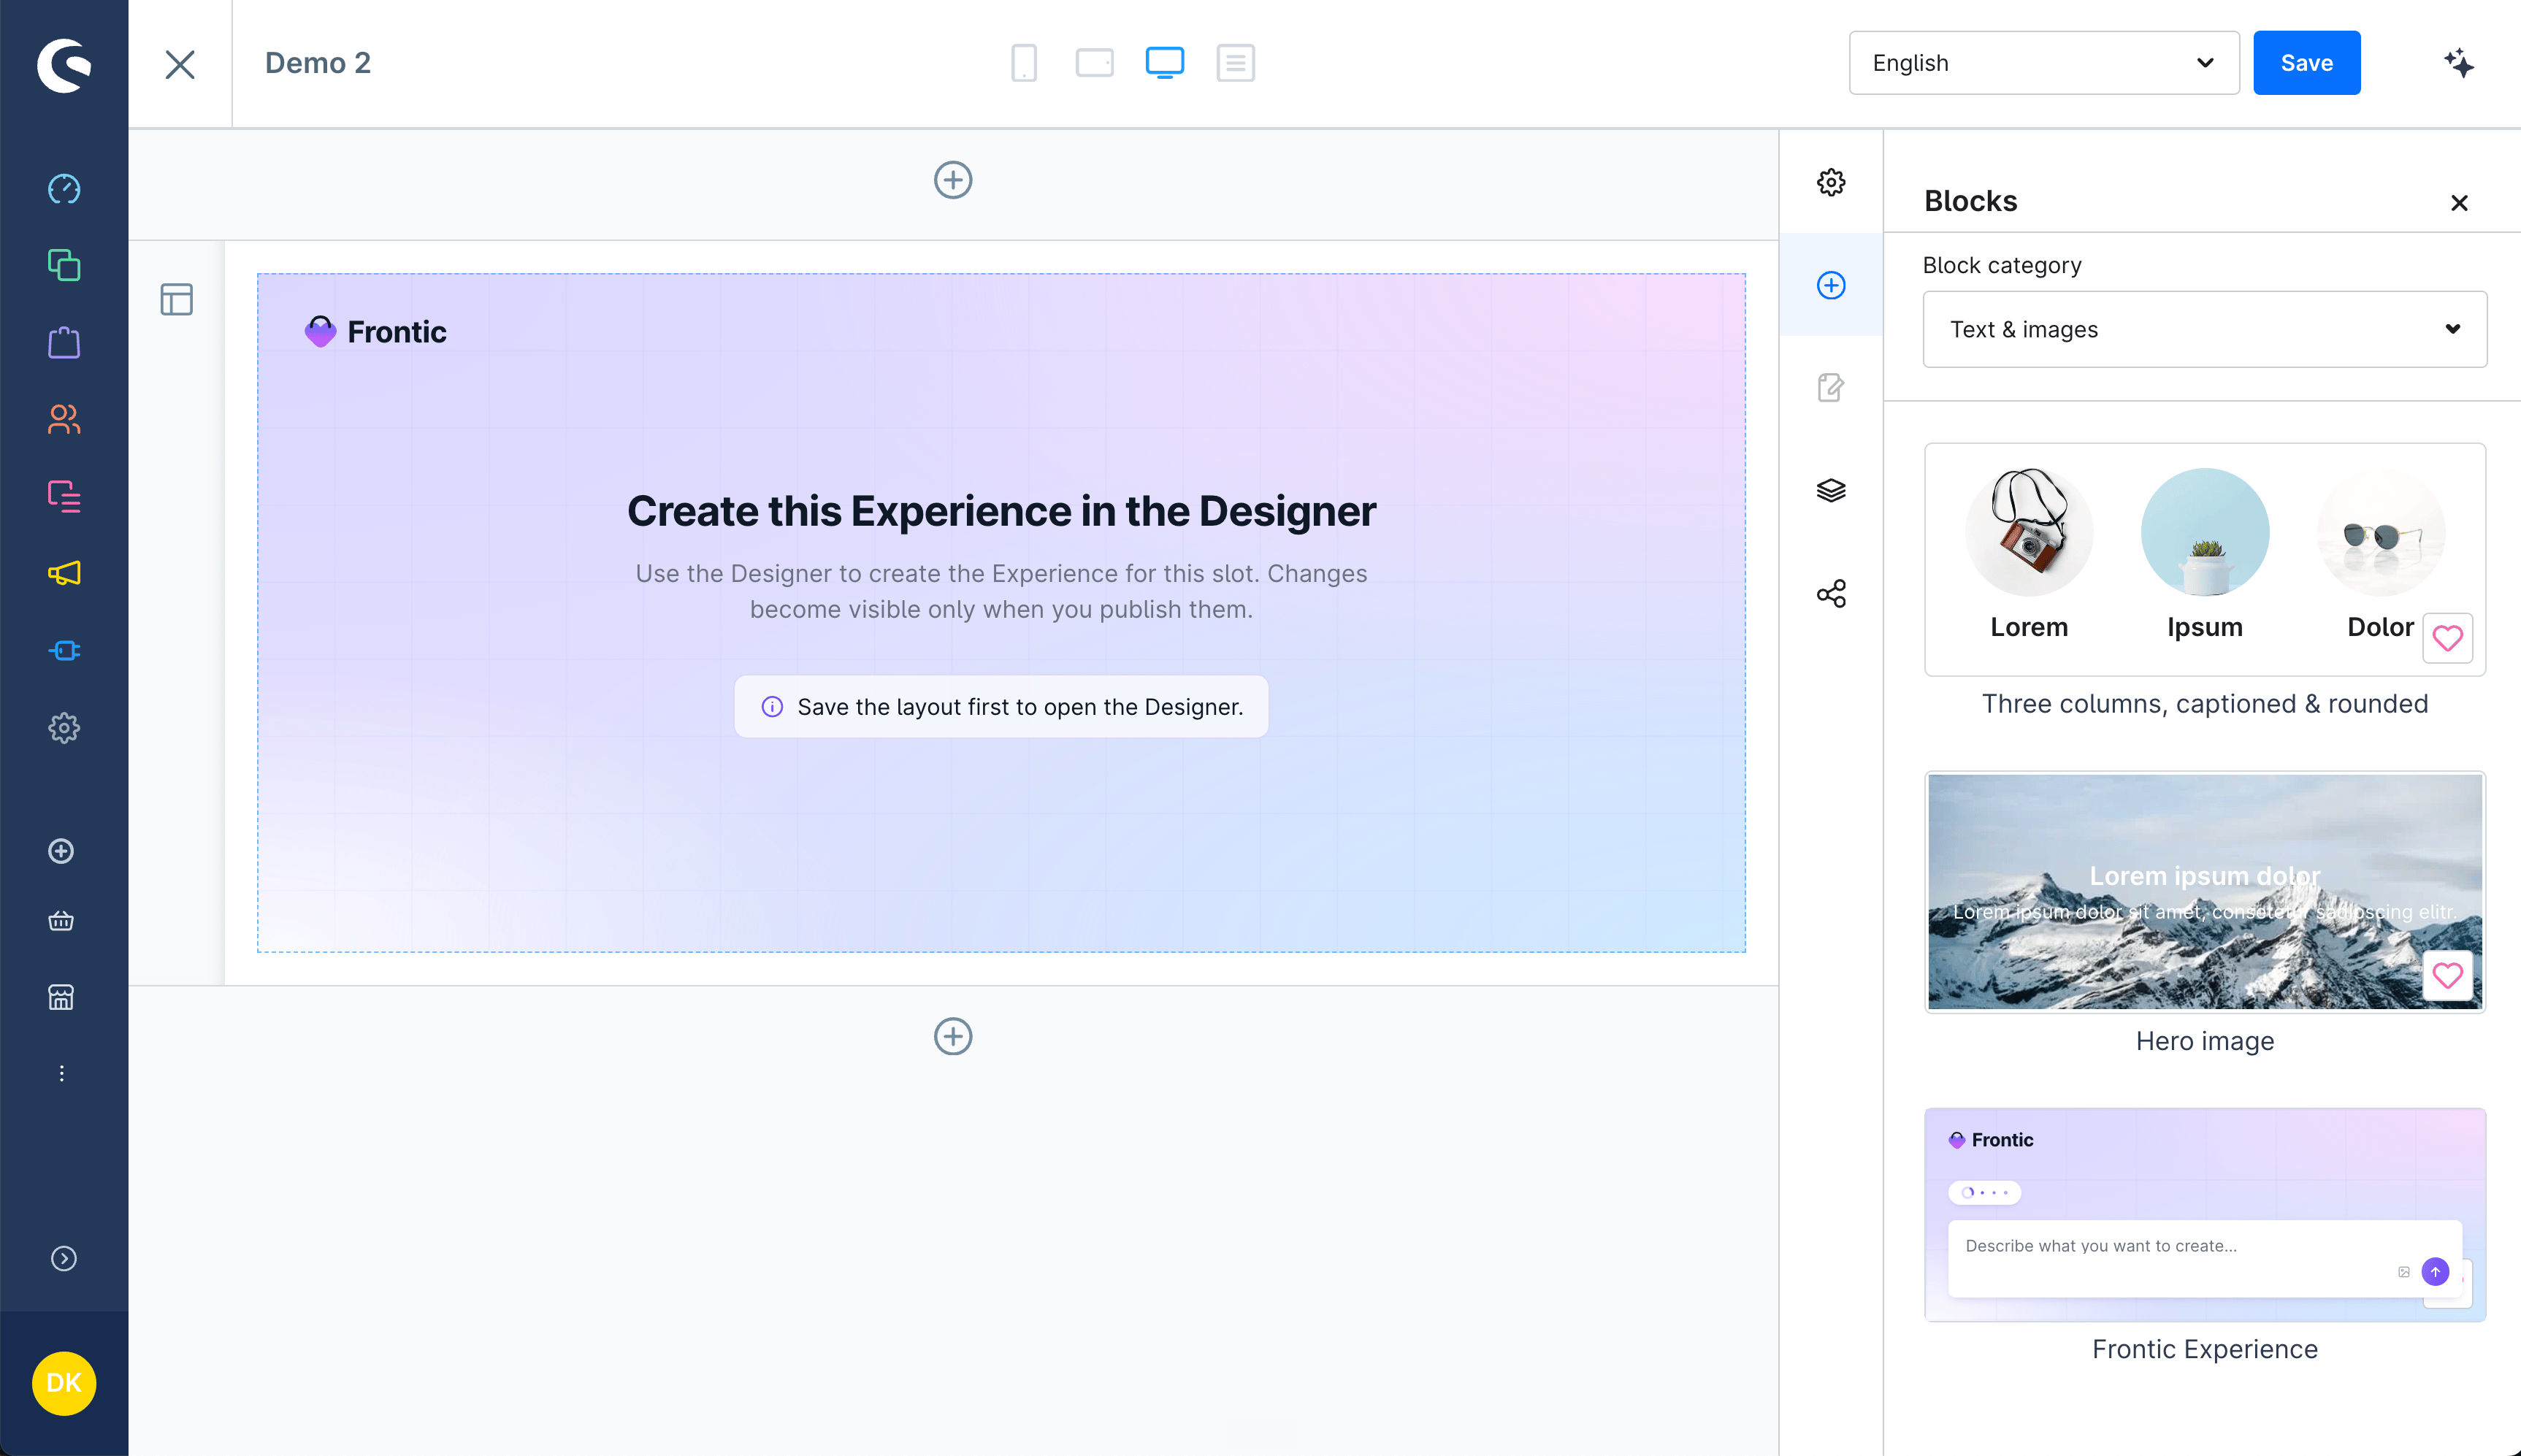
Save the layout
Save before you go any further. The element needs a persisted slot
ID to hand to the Designer, so Open in Designer stays disabled
until the layout has been saved once - the element says so.Don’t worry, the block stays empty in your storefront until you explicitly publish the Frontic Experience.
Dropped Block into the layout, before saving
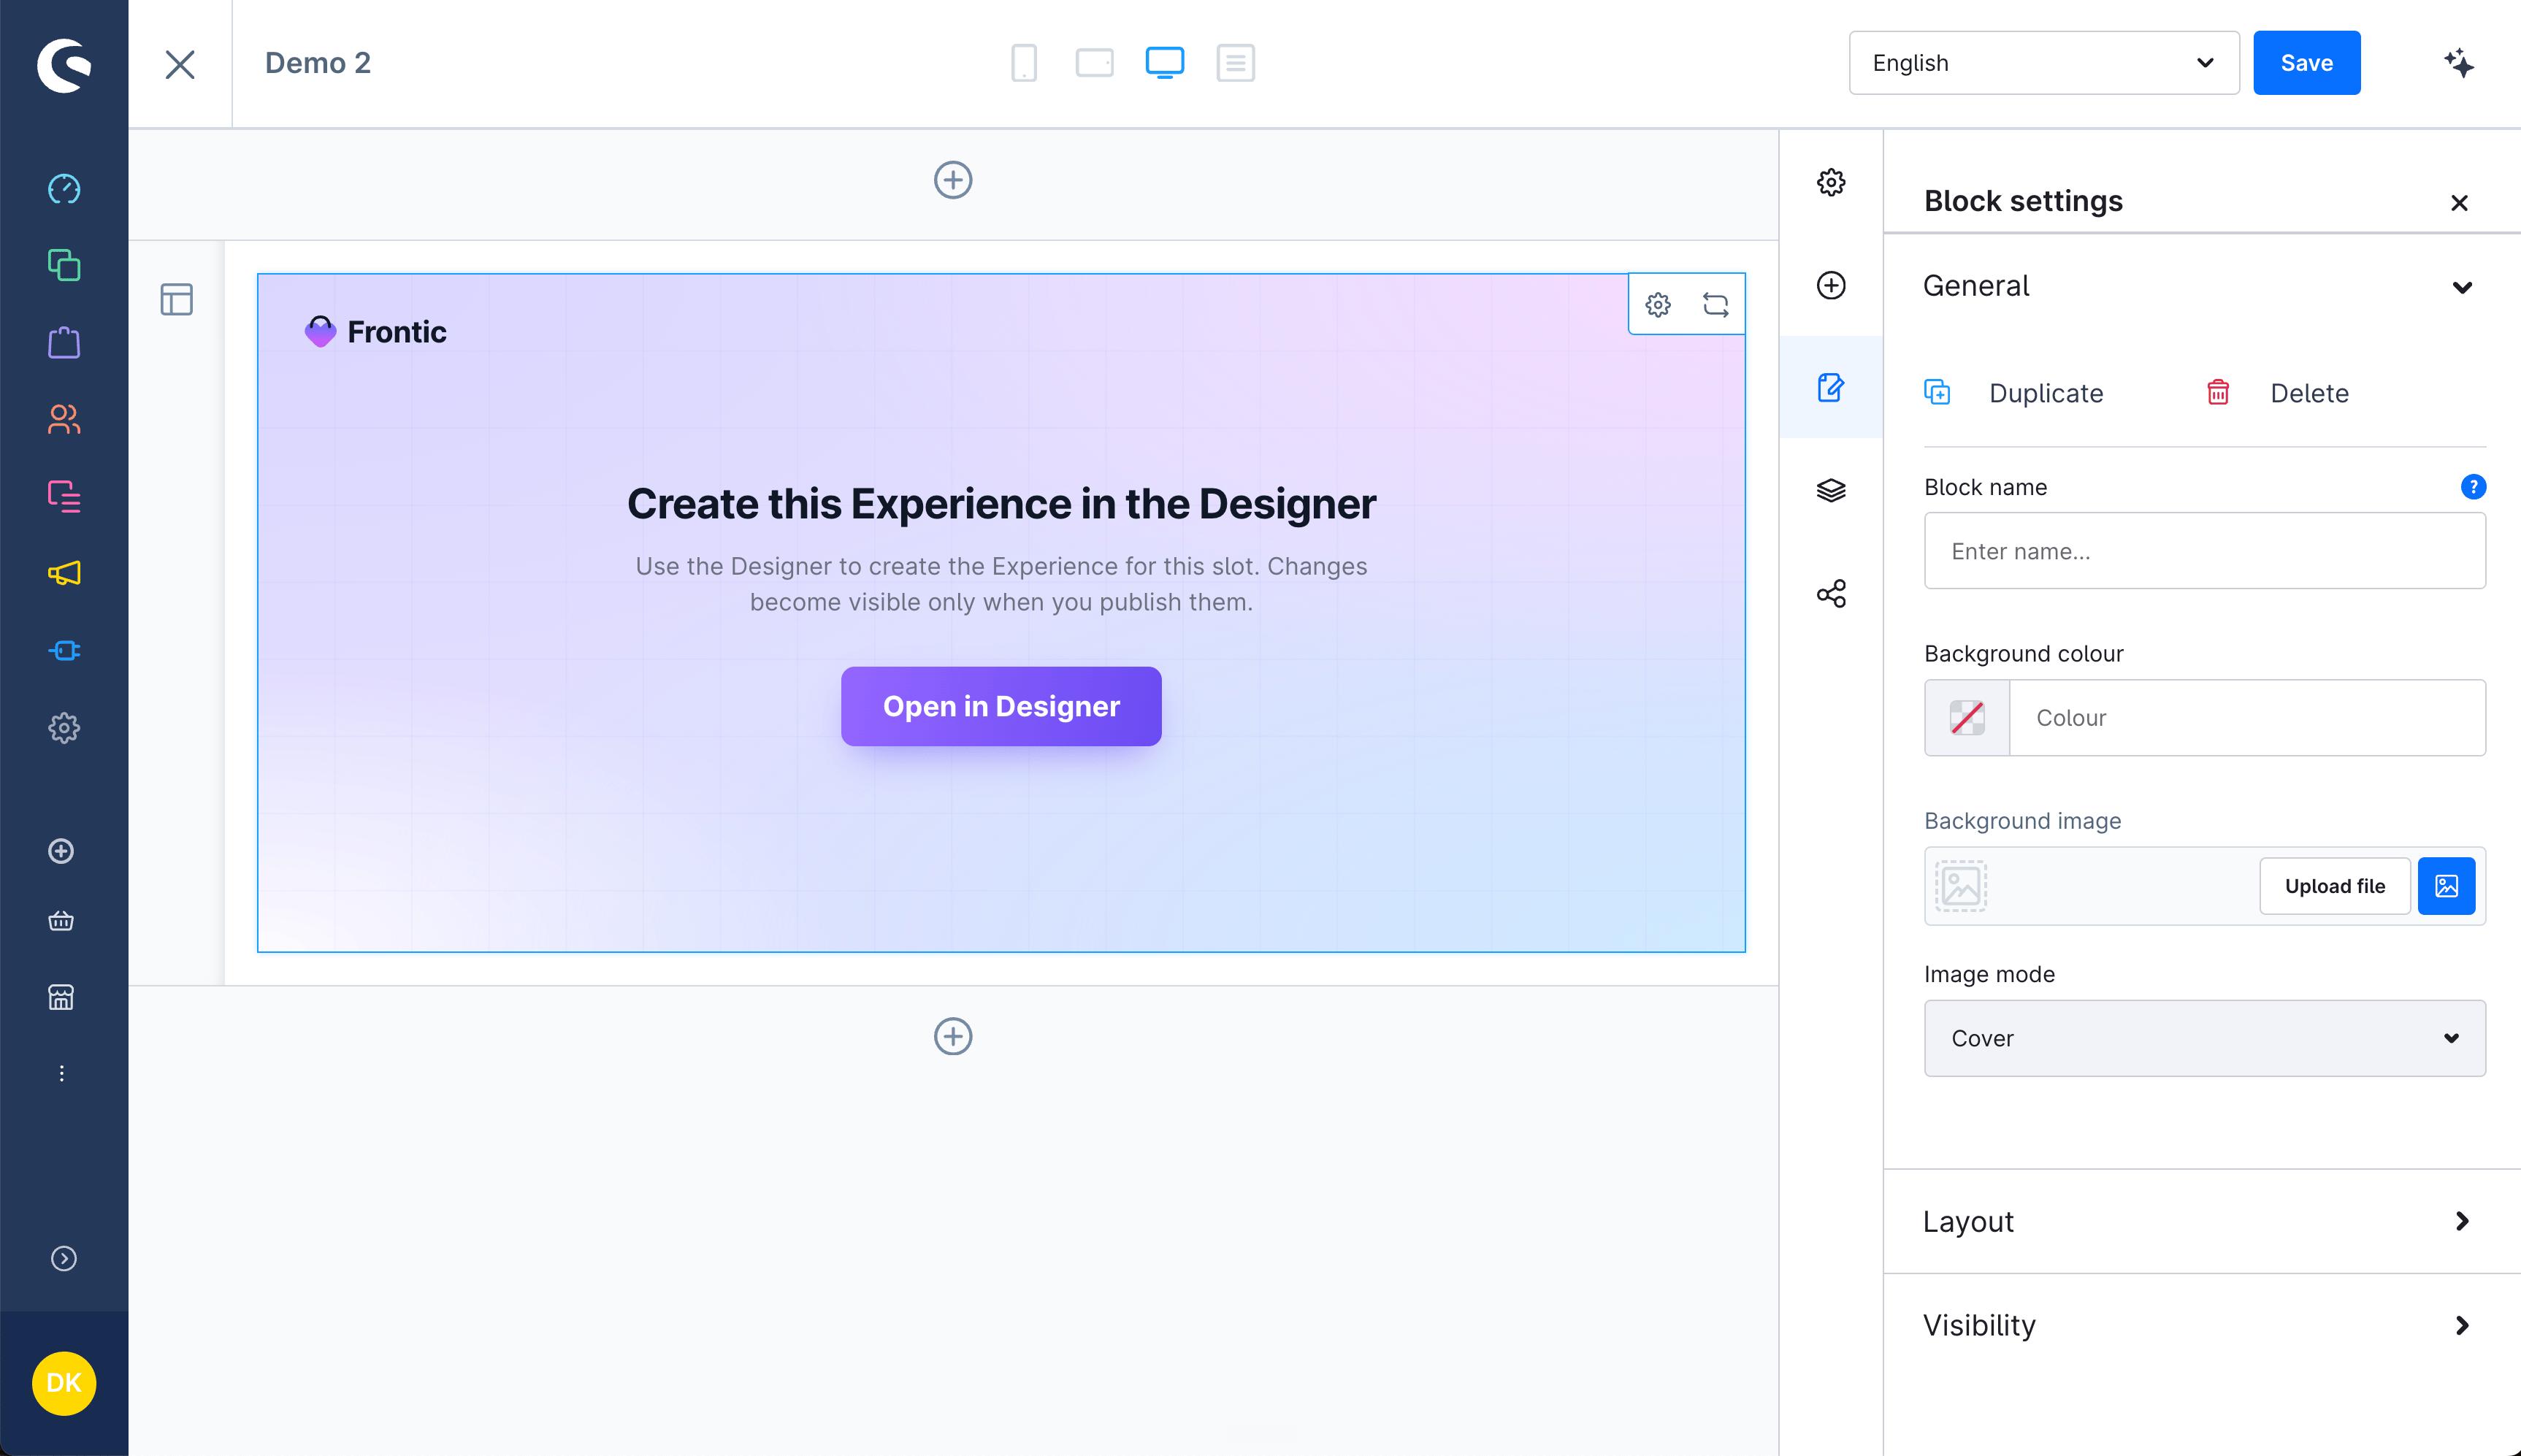
Open in Designer
Select the block and click Open in Designer.
After saving, the block is ready to be opened in the Designer
Shopware opens
Frontic in a new tab, so your CMS editing session is never dropped.Frontic creates an experience bound to that slot, points its
preview at the layout’s storefront route, and opens the Designer.
From here you’re in Frontic - describe the campaign and the design
agent builds it. See Building an
experience.
Publish
Save & publish in Frontic writes the finished version straight
back into the Shopware slot. The next storefront request renders
it.
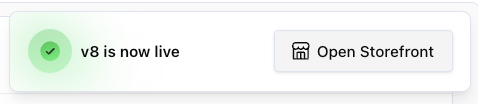
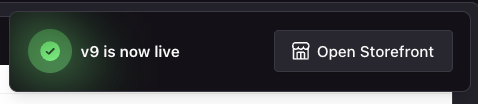
Notification after publishing experience to Shopware
Reopening works the same way: the element remembers which experience it holds, shows a thumbnail of the published version, and Open in Designer takes you back to that experience rather than creating a new one.
Editors see the element’s preview thumbnail, not a live render, while working in the CMS editor. What’s on the storefront is always the published version - changes you make in Frontic become visible only when you publish them.
Publishing writes the version’s rendered content into the CMS slot’s configuration through Shopware’s Admin API, and the storefront renders it as part of the layout. Nothing is fetched from Frontic at request time, so there’s no runtime dependency on Frontic for a page that’s already published - and no plugin update or cache warm-up needed to ship a change.The publish result links both ways: Open Layout goes back to the Shopping Experience in your Shopware admin, Open Storefront goes to the live page.
Publishing to Shopware is best-effort by design - a Shopware outage must not block a publish. If the slot update fails, the version still goes live in Frontic and you’re told: the toast reads “v3 is live, but updating the Shopware slot failed”, and the experience card flags that the live version isn’t synced to the slot. Publish again once Shopware is reachable.
The Integration account Frontic uses needs write access to Shopping Experiences for this to work. The plugin’s onboarding sets that up; a manual Integration account created with read-only permissions can sync data but can’t publish experiences back.
Products are scoped by sales channel visibility. Only products visible in one of the sales channels selected across the integration’s channels are fetched - see Product visibility.
No scheduled polling. Shopware sync relies entirely on plugin webhooks. If the plugin is disabled or your instance can’t reach Frontic, changes won’t be pushed - fix connectivity, then hit Refresh on each feed to backfill.
Webhook delivery retry is on the plugin side. The Frontic plugin queues outbound webhooks in Shopware and retries delivery - events older than Shopware’s retention can’t be replayed and need a manual feed Refresh to reach Frontic.
Batch size. Records are fetched in batches to keep Shopware’s API response size small enough for catalogs with large associations.
Storefront SEO paths are onboarding-only. New integrations get seoPath/seoPaths from the plugin wizard; existing ones need the fields added by hand - see Storefront SEO paths. Re-running onboarding is not an upgrade path.
Experiences need write access. Publishing an experience back into a CMS slot uses the Admin API - a manual Integration account created with read-only permissions can sync data but can’t publish. See Publishing back to Shopware.