> ## Documentation Index
> Fetch the complete documentation index at: https://docs.frontic.com/llms.txt
> Use this file to discover all available pages before exploring further.
# GitHub Integration
GitHub integration is **optional but unlocks production shipping**. [Studio](/studio/frontic-studio) works end-to-end without GitHub — scaffold from a framework template, build with the chat, iterate against the live preview, and share via the preview URL or a workspace download. Connect GitHub when you're ready to push work to a real repo, open pull requests, and run it through your team's review flow.
Once connected, Studio builds on **real Git branches in real repositories**. File changes the Studio chat makes are committed to a branch on your GitHub repository, and you open a pull request through GitHub's normal flow. No custom review tool, no "AI commits" marker — ordinary Git that happens to have been authored through a chat interface.
This page covers the full GitHub-side flow: installing the Frontic GitHub App, committing from the Changes panel, opening a PR, and coordinating PRs with [Releases](/releases/overview) when a change touches both frontend code and stack config.
## Connecting GitHub
GitHub integration uses a **GitHub App installed on your GitHub organization** (or personal account). It's an organization-wide install: a GitHub admin sets it up once, and every teammate on the Frontic project can use Git features in Studio — push, branch, open PRs — with no individual GitHub setup of their own.
You can start the install from either of two places:
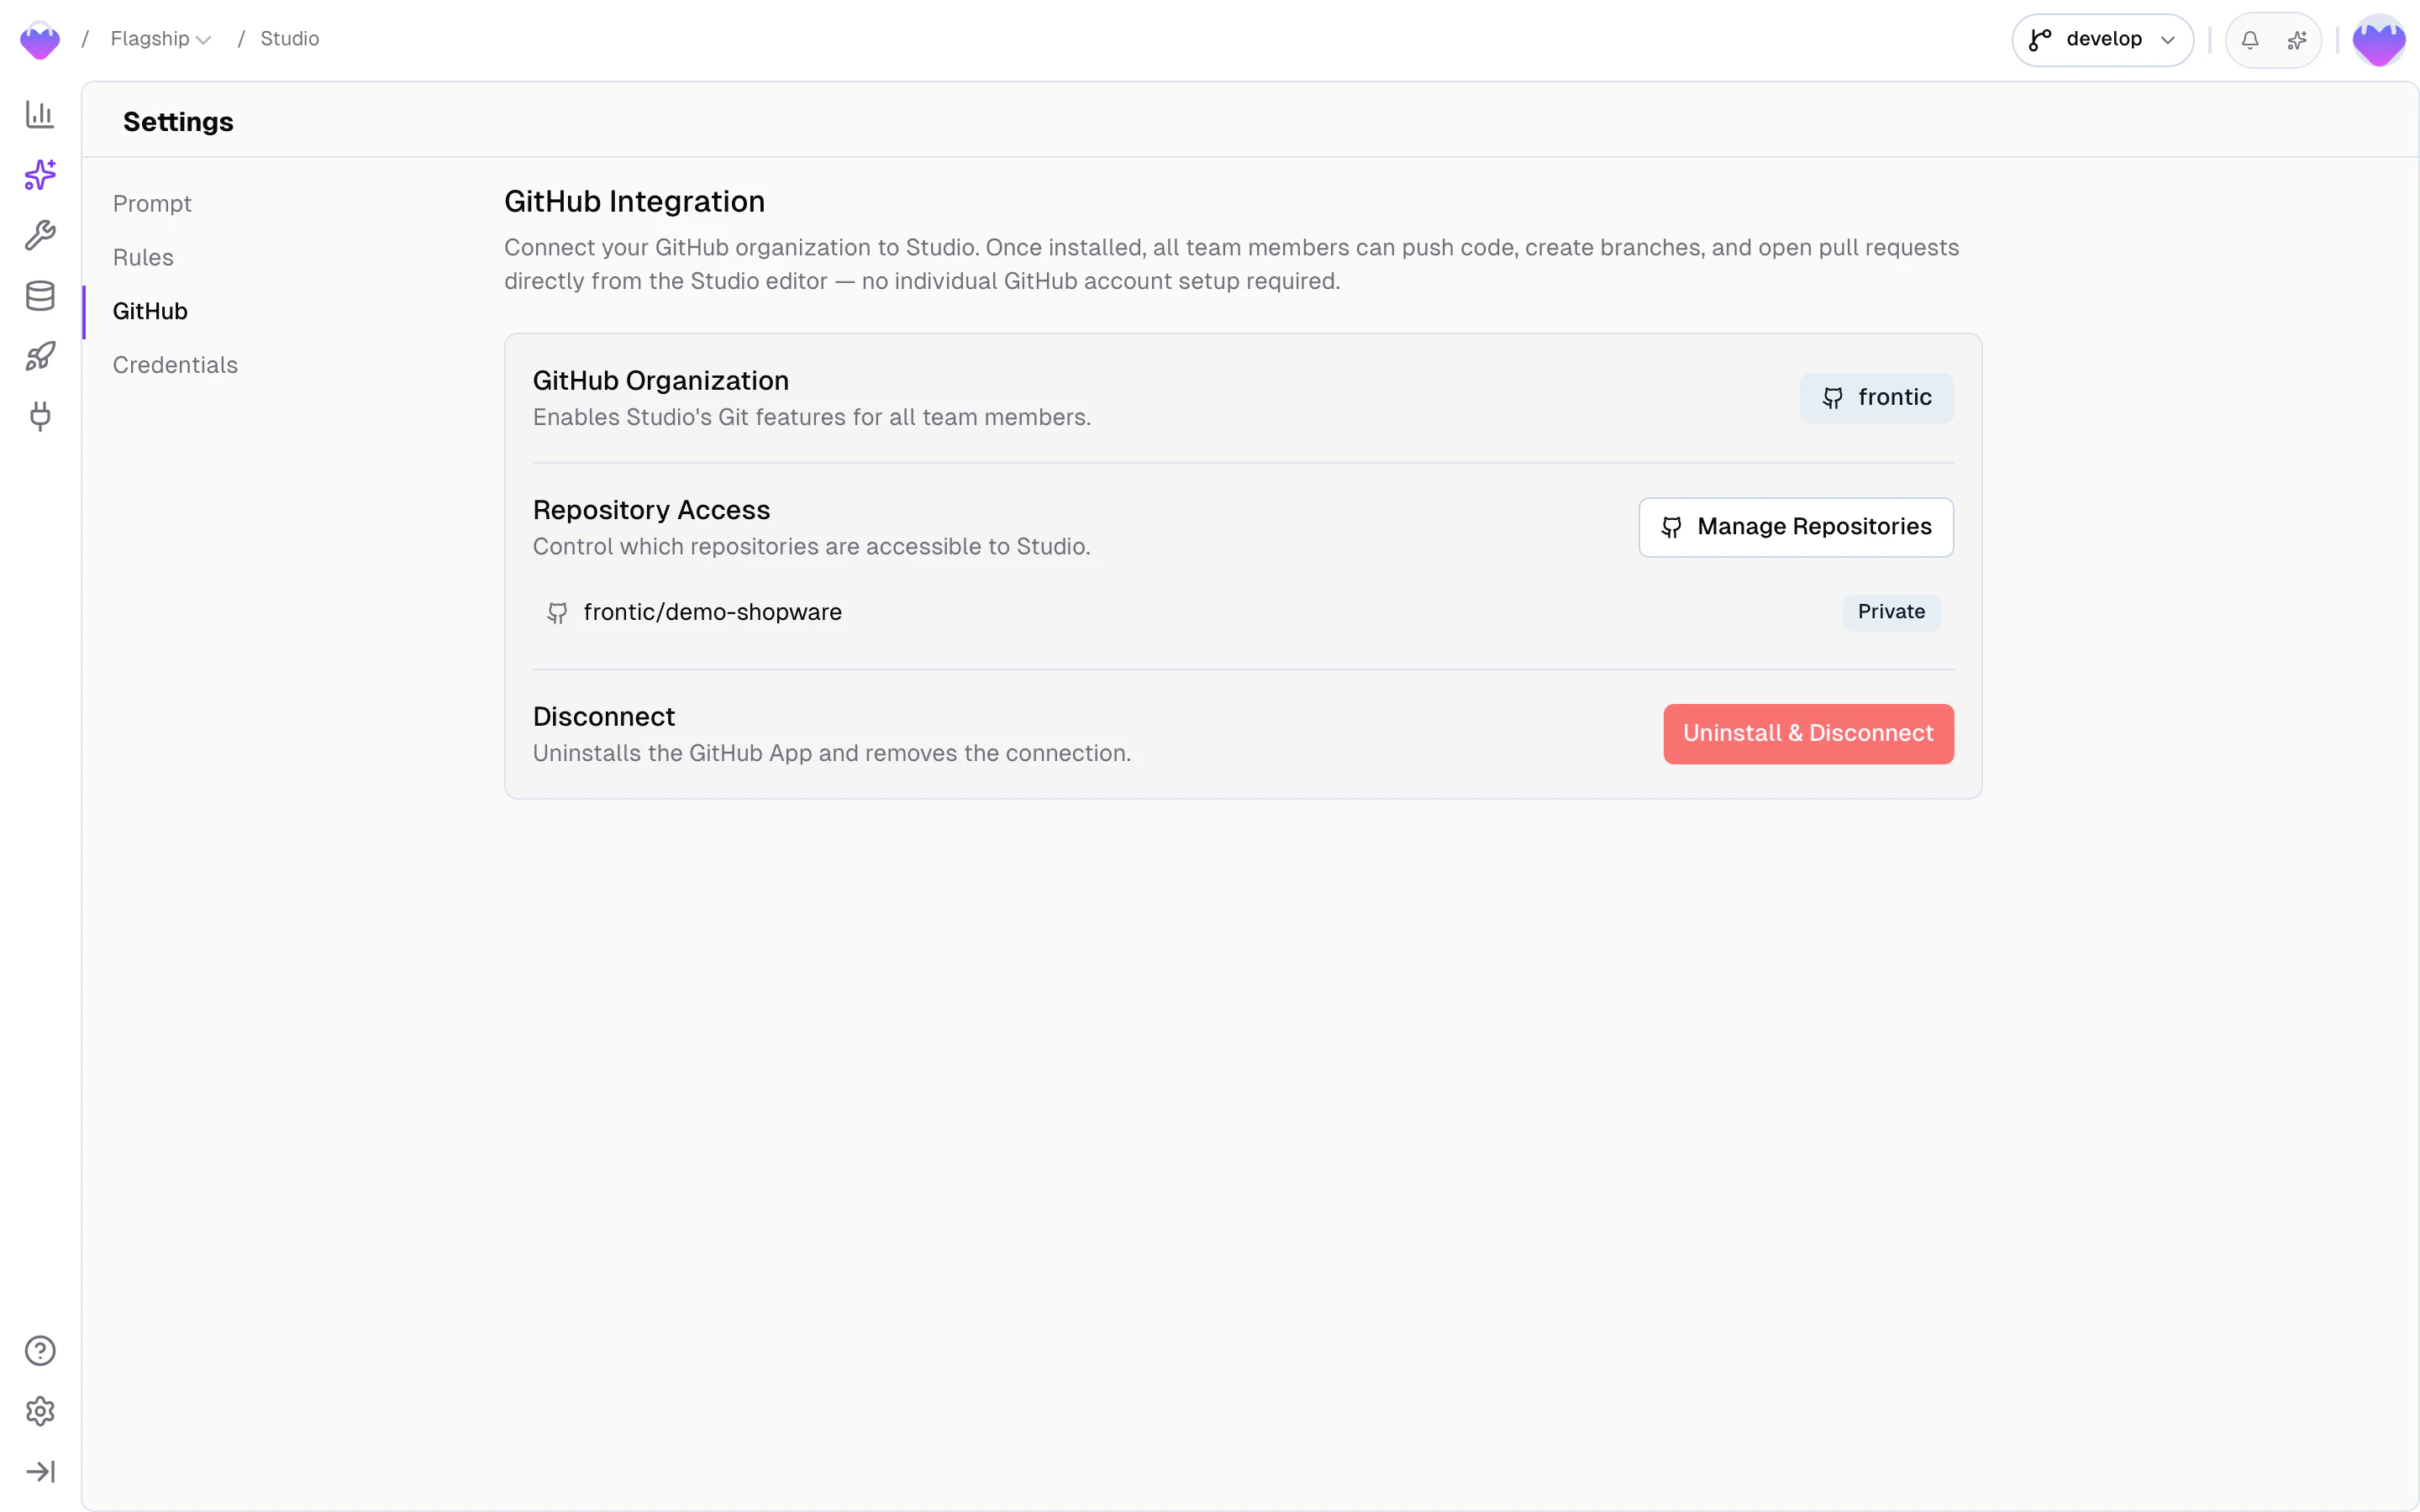
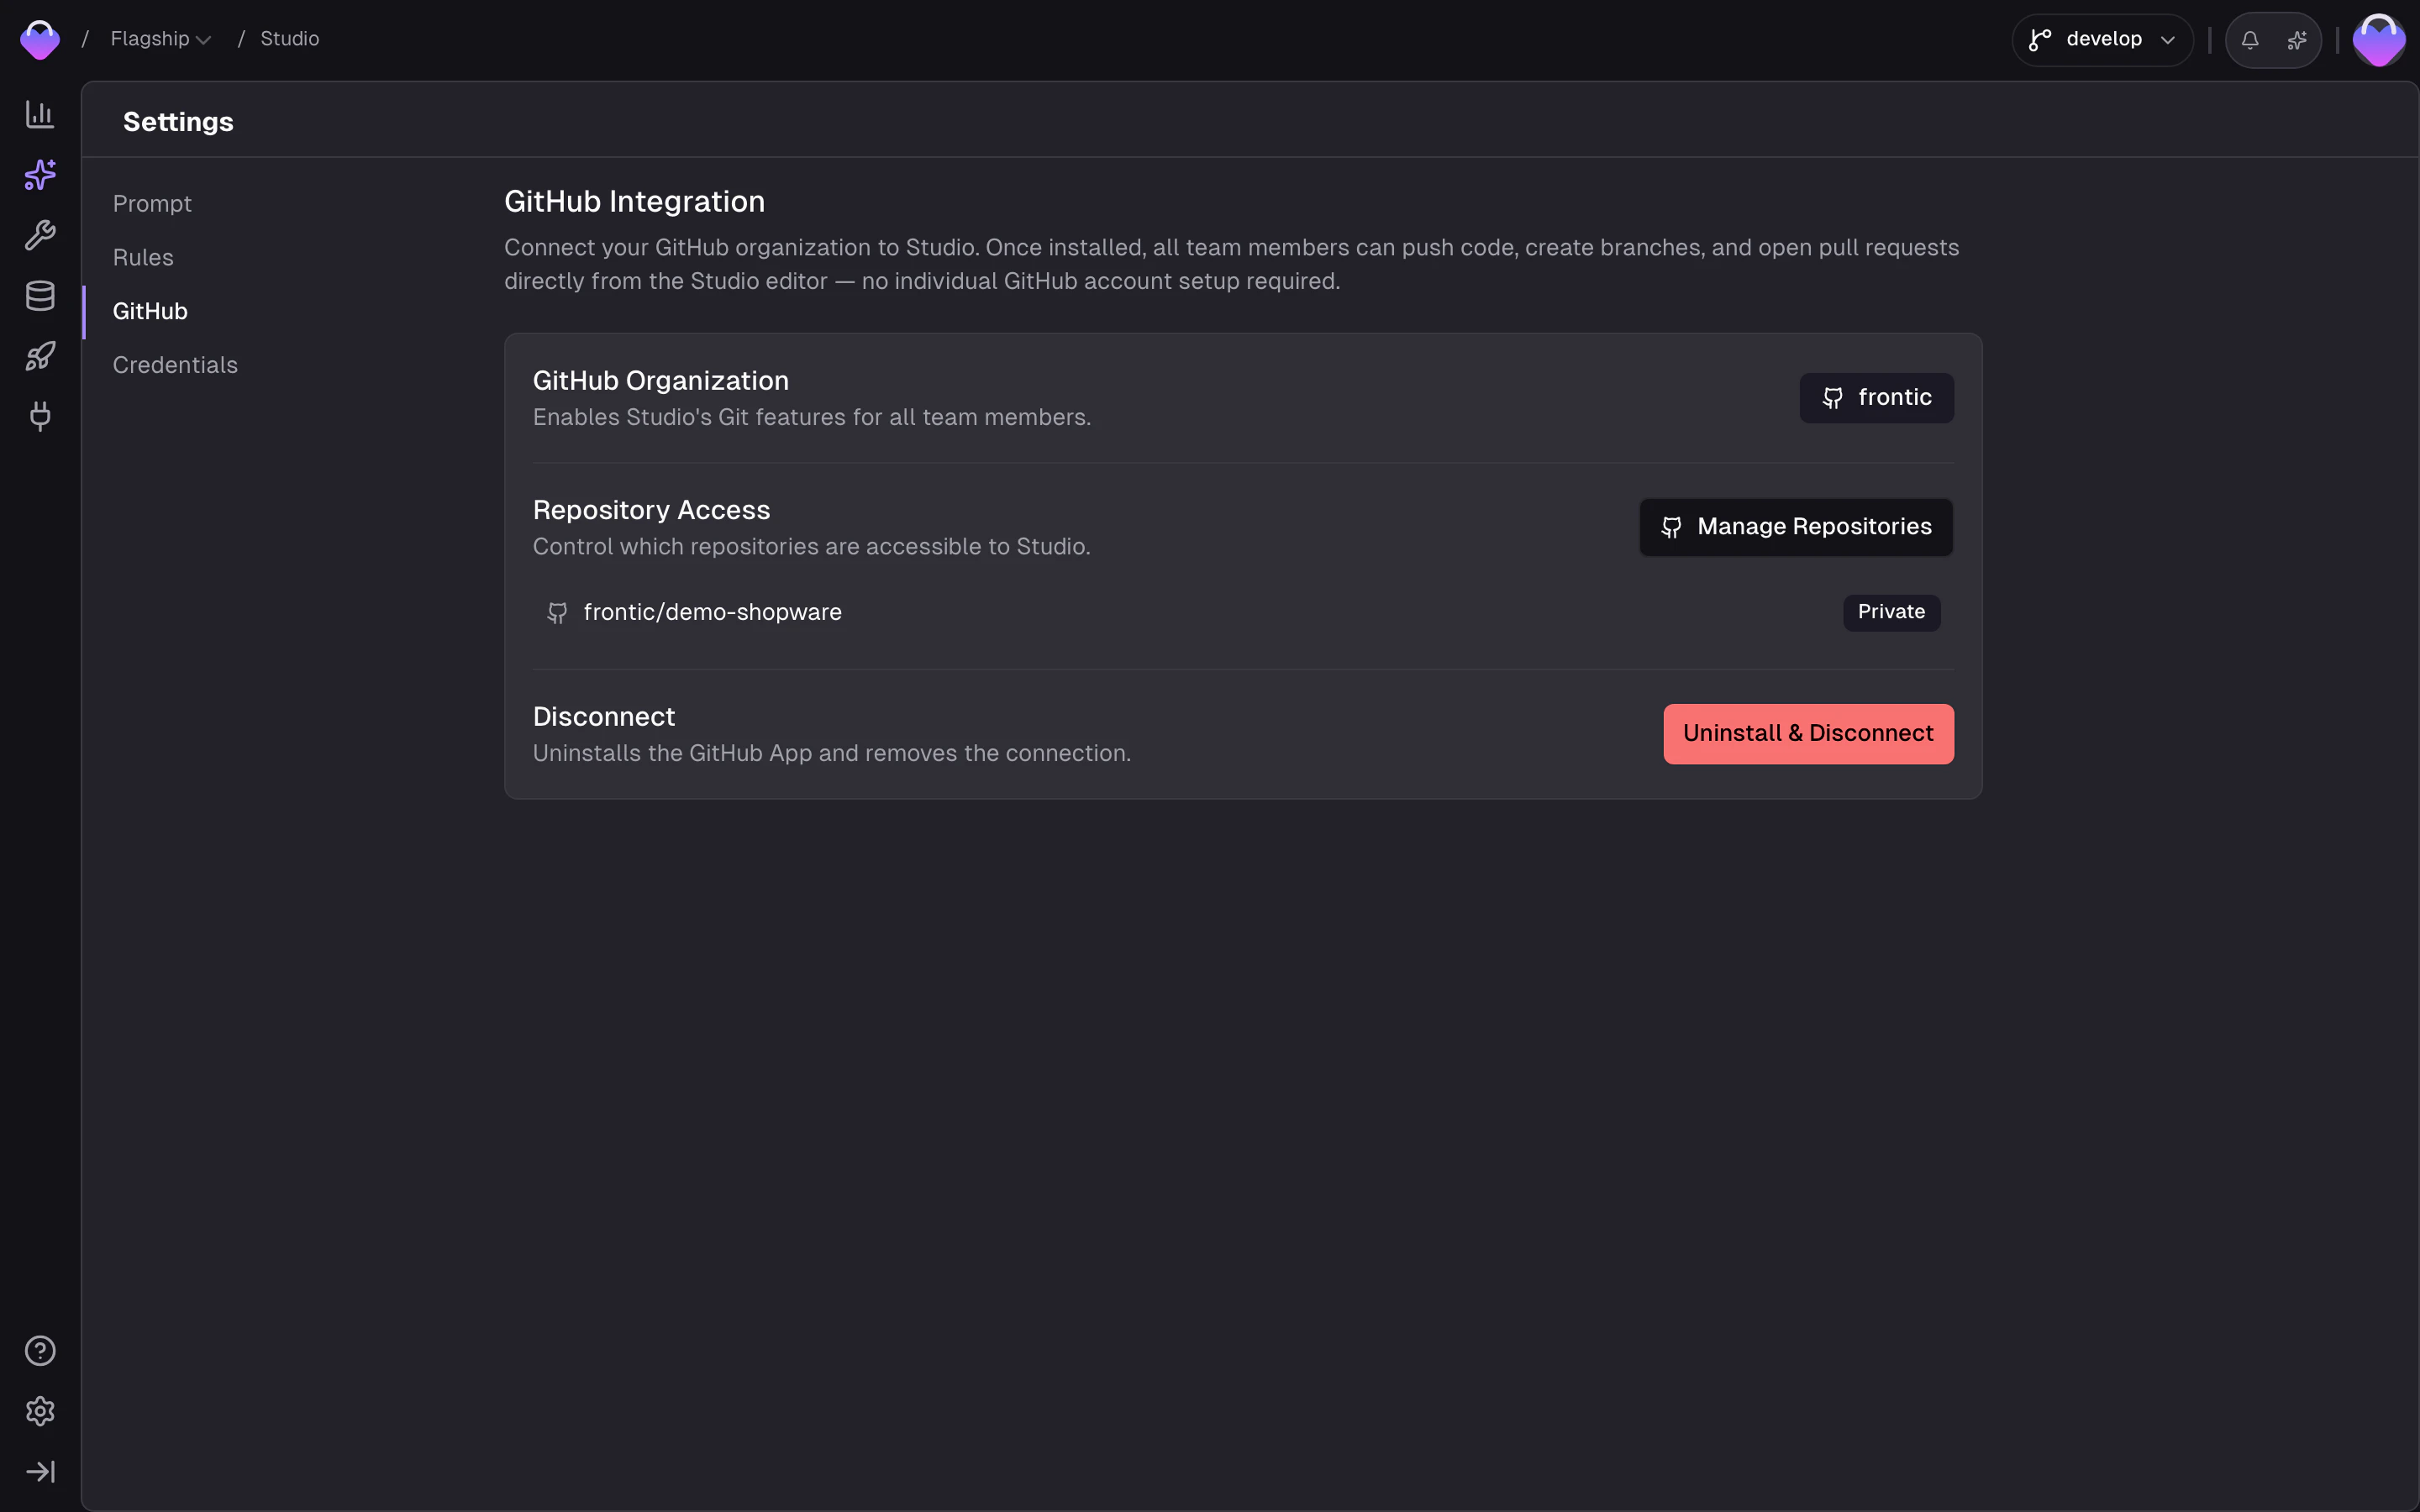
Go to **Studio → Settings**, open the GitHub section, and click
**Install GitHub App**. Useful when you want to set up GitHub up front,
before any job.
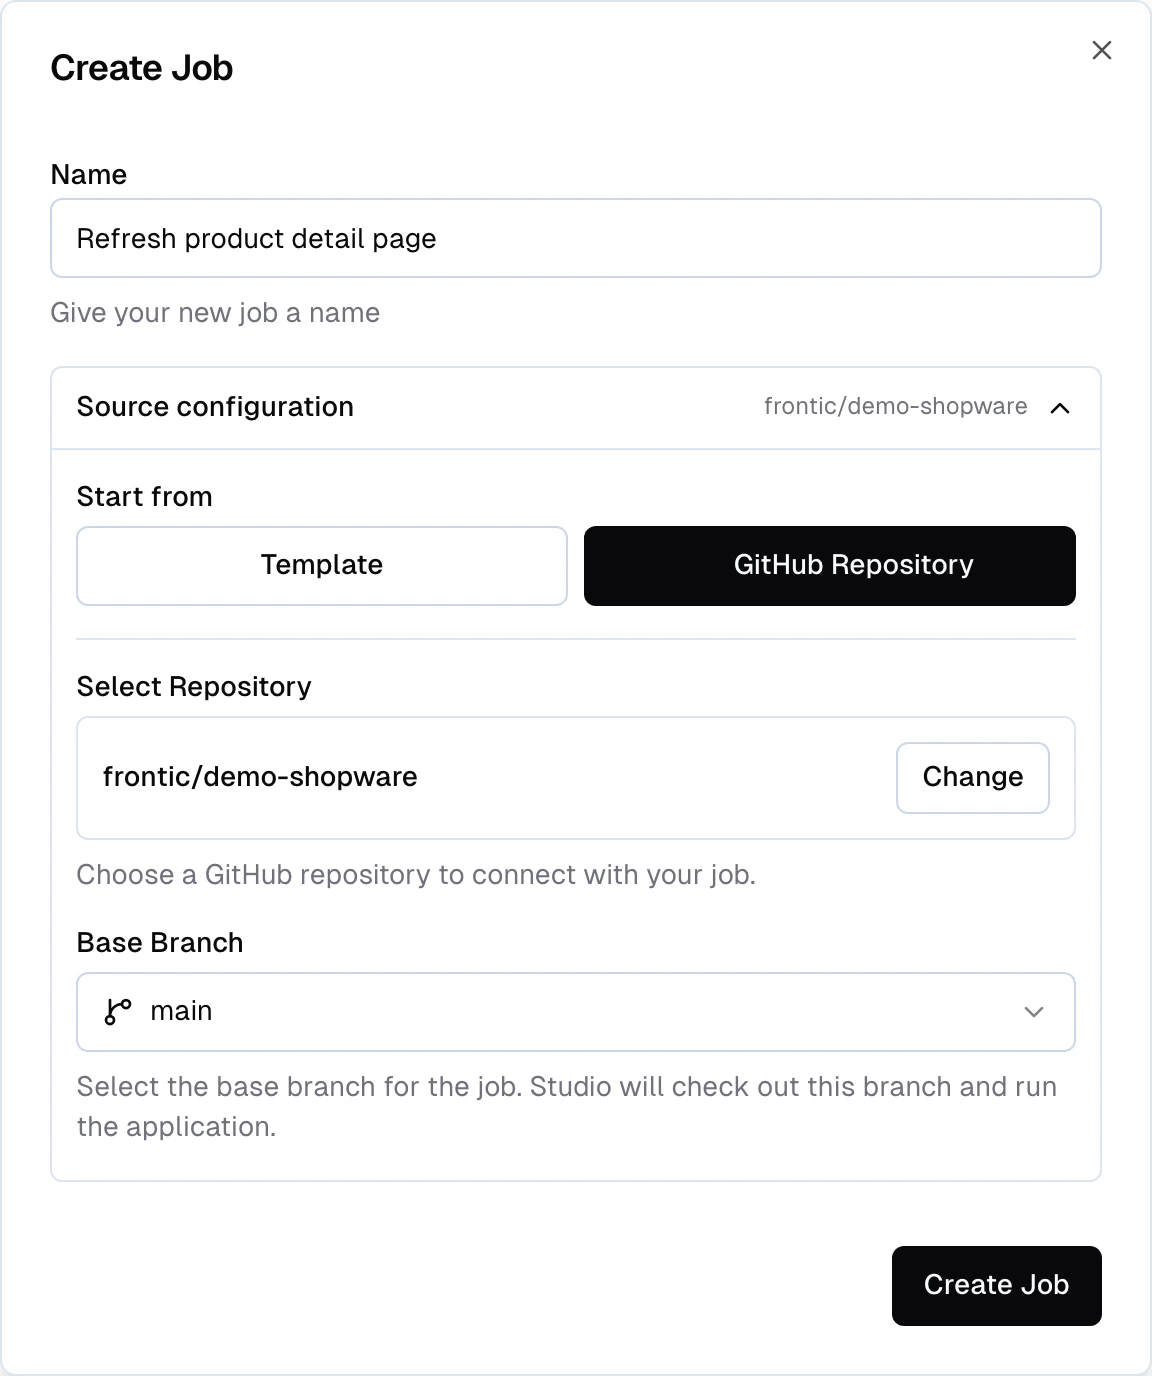
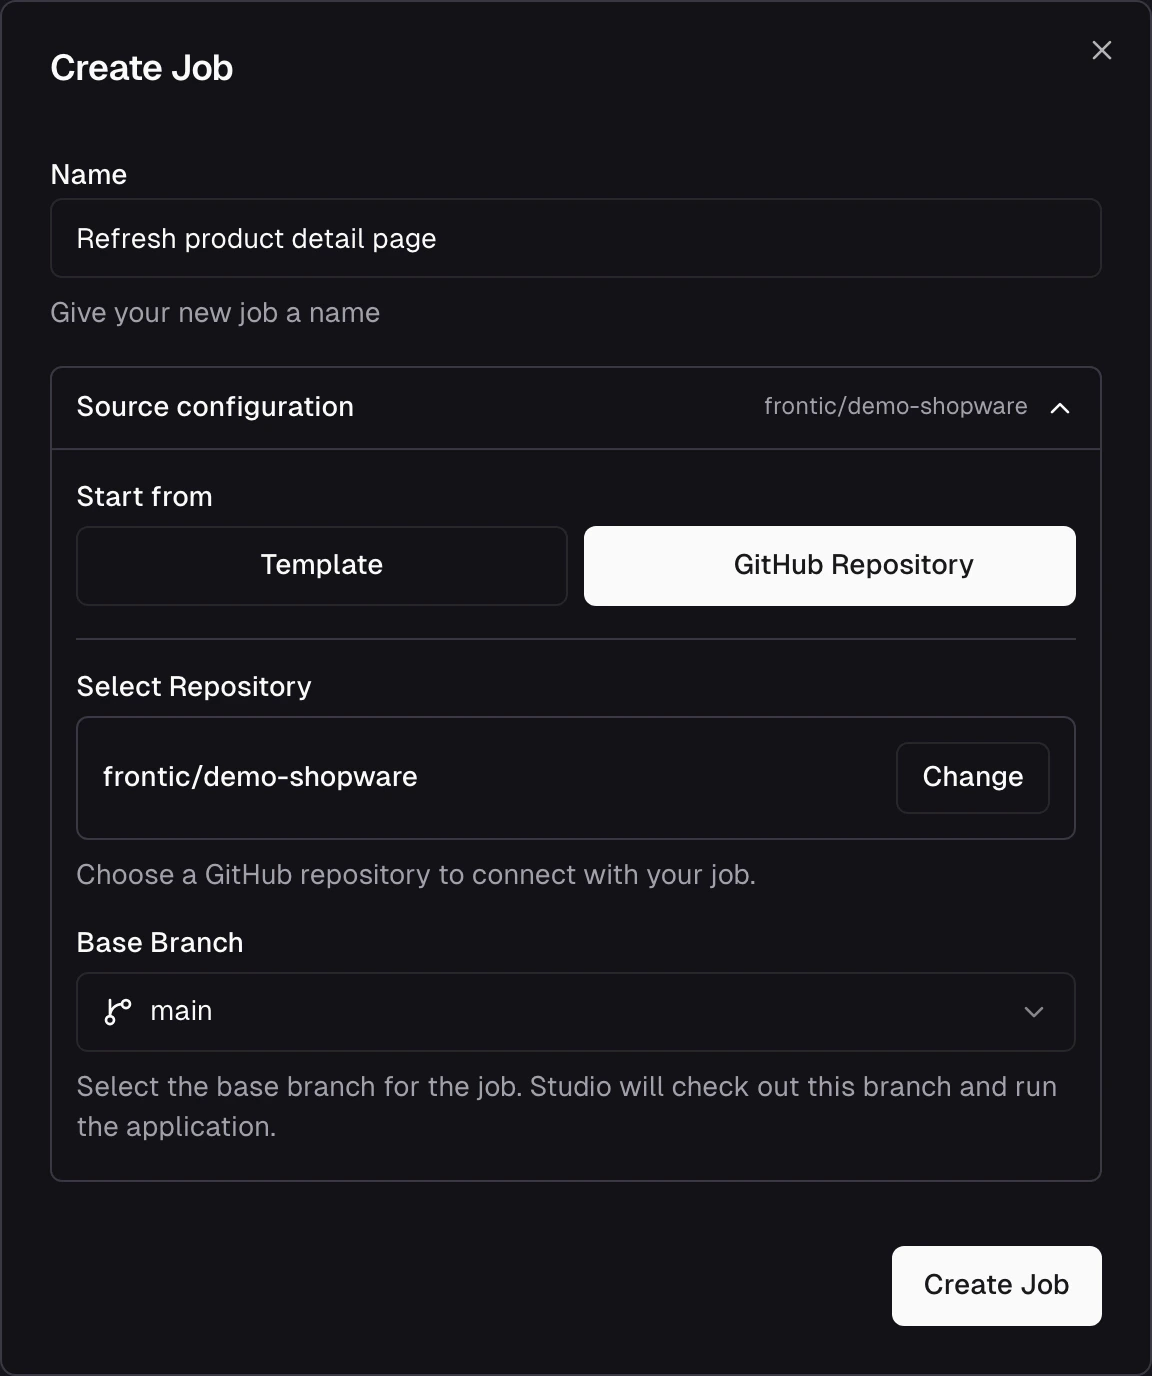
Open Create Job, expand **Source configuration**, and switch the source to **GitHub Repository**. Install the GitHub App inline; the dialog returns with repository mode pre-configured, ready to pick the repo and branch.
Either path opens GitHub's App installation flow, where you pick the organization to install on and choose which repositories the App can access. After you confirm, the installation is saved at the project level and every subsequent job can target any repository you granted access to. You can connect additional GitHub organizations at any time — each gets its own installation, and all active installations are listed in **Studio → Settings → GitHub**.
Installing on an organization may require approval from a GitHub org admin if your organization restricts third-party App installs. If you don't see your org in the picker, ask an admin to install the Frontic GitHub App for you. This approval applies per organization — when you add a second or third org, a GitHub admin for that org needs to approve it too.
 Once the App is installed, Create Job uses your connection to pre-fill the source. The dialog opens with **Source configuration** collapsed — its summary line shows the current selection (a template name when no GitHub is connected, or the repository's full name when one is). When you've used a repository before, that one comes back pre-selected, and the base branch field is pre-filled with the last branch you targeted. With a fresh install and a single accessible repo, that repo is picked silently. Multiple accessible repos with no history is the only case that opens with the section expanded so you can choose.
 ### Repository access
After the App is installed, each connected organization shows its own **Repository Access** panel in Studio Settings listing the repositories Studio can see for that org. The list is paginated — load more if you have many repos. If you have multiple organizations connected, each appears as its own installation card with its own Repository Access panel.
To change which repositories the App can access for an org, click **Manage Repositories** on that org's installation card. That redirects you to the GitHub App's installation settings on GitHub, where you can add or remove repositories. Save there, and GitHub redirects you back to Studio with the new list. Changes apply immediately for everyone on the project.
Use this when:
* A new repository was created after the App was installed and isn't in the picker yet
* You want to scope Studio to a narrower set of repos than what's currently granted
* You're auditing what Studio has access to
### What Studio does with the connection
When a job runs against a GitHub repository:
* The workspace **clones the repo** when the job starts
* The Studio chat creates **a new branch** off the base branch you pick
* Every file edit is a change on that branch
* Clicking Commit in the Changes panel commits on the branch and pushes to GitHub in one step
* Pull requests target the base branch
Everything is standard Git. Commits are authored by the GitHub App, not by the teammate who ran the job — so don't use the commit author field for attribution.
### Multi-repository projects
Each Studio job picks its own repository and base branch at creation — there's no per-project default repository to override. If your team maintains multiple frontends (web storefront, mobile app, admin surface) against the same Frontic project, each can live in its own repo — including repos across different GitHub organizations if you have multiple orgs connected — and jobs target whichever one you're working on.
### Revoking access
Two ways:
* **From Frontic** — Go to **Studio → Settings → GitHub** and click **Uninstall & Disconnect** on the installation you want to remove. Each connected organization is disconnected independently — removing one does not affect other connected organizations. Existing jobs that target that org's repositories finish; no new jobs can be created against those repositories until the App is reinstalled.
* **From GitHub** — in your organization's **Settings → GitHub Apps → Frontic Studio**, click **Uninstall**. GitHub enforces immediately.
Neither deletes already-committed work — that's in your Git history and belongs to you.
## Create a repository from a job
Not every job starts from GitHub. When you scaffold a job from a [framework template](/studio/frontic-studio) (Nuxt or Next.js), the [workspace](/studio/workspace) has no repository connected. **Create Repository** enables you to create a new GitHub repository from a template job in one step.
The action lives in the workspace panel toolbar and only appears while the job has **no repository connected**.
### Before you start
Two things must be in place:
* **GitHub connected at the project level** — the Frontic GitHub App is installed (see [Connecting GitHub](#connecting-github)).
* **At least one organization installation** — the org picker lists GitHub *organizations* only. Personal GitHub accounts aren't supported here. If your only installation is a personal account, connect an organization from **Studio → Settings → GitHub** first.
The dialog handles the gaps for you. If GitHub isn't connected at all, it shows an inline **Connect GitHub** prompt — the same install flow as [Studio Settings or Create Job](#connecting-github). If GitHub is connected but no organization is available, it links you to **Studio → Settings → GitHub** to add one.
### Creating the repository
Click **Create Repository** in the workspace panel toolbar.
Choose the GitHub organization to create the repository under. When
only one organization is connected, it's pre-selected.
Enter a name — letters, numbers, hyphens, underscores, and dots, 1–100
characters. Add an optional description if you like.
The repository is **private** by default. Flip the toggle to make it
public.
Studio creates the repository under the organization, pushes the
current workspace as the initial commit, and connects it to the job.
Once it's done, the job is a normal GitHub-backed job: the [Changes panel](/studio/workspace#the-changes-panel) is live, and the full [Commit](#commit) → push → [open a pull request](#open-a-pull-request) flow works exactly as it does for a job that started from an existing repository.
The repository is created empty and your current workspace lands as the first commit on the default branch (`main`). There's no separate base branch to choose — this flow both creates the repo and pushes to it in one confirm.
## Commit
Once Studio has made file changes you're happy with, commit them from the workspace. The [Workspace](/studio/workspace) page covers reviewing the diffs in detail; this section covers the commit mechanics.
Before committing, open the Changes panel and read every file — not
only the ones you expected. Agents sometimes touch imports, shared
utilities, or generated files you didn't mention. Worth knowing
what landed.
Studio drafts a commit message from the diff as soon as the dialog
opens. If you want to write your own commit message, just start
typing — your text is kept and the suggestion is dropped.
The dialog has a **Commit changes to** row that shows the branch
the commit will land on — the workspace's feature branch by default.
Click the row to expand it and switch to a different existing branch
or create a new one (under the hood it's the standard branch
selector with **Existing branch** and **Create new branch**
options). Leave it collapsed when the default is right.
Studio commits on the branch and pushes to GitHub in one step. The
first commit creates the branch on GitHub; later commits fast-forward
it. The Changes panel shows the branch up to date with remote when
it's done.
## Open a pull request
Once your branch has commits on GitHub, the Changes panel shows a link to open a pull request. Clicking it takes you to GitHub's compare page with the base and compare branches pre-filled via URL params.
From there you write the PR title and description in GitHub's own form — Studio doesn't compose PR content itself. Add the context your team needs (ticket links, screenshots, test notes) and create the PR as you normally would.
Take 30 seconds to write a real description: *what* changed, *why* it changed, and *what to look at first*. A good description saves more review time than it takes to write.
## Merging and cleanup
When the PR is approved and CI is green, merge it like any other PR. After merge:
* The feature branch can be deleted (your team's usual branch cleanup applies)
* The Studio job stays around — you can reopen it later for follow-up work in the same workspace
* If the change involved stack configuration (new blocks, listings, pages) that went through a preview [release](/releases/overview), promote the preview if you haven't already
## Coordinating with releases
A PR is about code. A [release](/releases/overview) is about stack config. When a change involves both — which most meaningful changes do — the order matters:
Create a preview in the admin app so the stack state is frozen.
Run `frontic generate --env preview` (or `frontic generate` and pick
**preview** from the prompt). The SDK embeds a version token pointing
at the preview.
Commit the generated client files alongside the frontend code that
uses them. Push the branch.
Mention in the description that there's an accompanying preview
release and link to it. Reviewers need to know the PR depends on
stack state that isn't `public` yet.
Your deploy pipeline builds a preview deploy. Because the SDK in
the branch carries the preview token, the preview deploy talks to
the Frontic preview — so QA validates the full stack, not only
the code.
Production deploys the new frontend. Because the SDK carries the
preview token, production is now talking to the Frontic preview —
so real traffic hits the validated stack state.
Promote the preview to `public`. The preview version becomes the
new public; the token your frontend is pinned to falls back to
`public` gracefully — same content, no code change needed.
The preview-then-promote sequence gives you a QA checkpoint where the frontend *and* stack state are both frozen, so you're not chasing a moving target. For a worked example, see [Your First Feature](/essentials/your-first-feature).
Preview — the next iteration of this flow pairs a [draft](/releases/overview#drafts) with the Studio job and the PR, so the stack sandbox, the frontend code, and the release that ships both move together. In preview today; expanding as it matures.
## Troubleshooting
The repository wasn't included in the App's repository access grant.
In **Studio → Settings → GitHub**, click **Manage Repositories** to
open the GitHub App's installation settings, add the missing repo,
and save. The picker refreshes with the new list.
Most often this is an organization permissions issue: the org
requires admin approval for third-party App installs, and the
request is still pending. Ask a GitHub org admin to approve (or
install) the Frontic Studio App for the organization. If you
cancelled the install partway through, just click **Install GitHub
App** again.
Once the App is installed on the org, every teammate on the Frontic
project gets Git access — no per-user GitHub setup is required. If
a teammate is blocked, check that the repository they're working on
is included in the App's repository access (see **Manage
Repositories**) and that they have the Frontic permissions to use
Studio in this project.
Supported. From the second Frontic team, go to **Studio →
Settings → GitHub** and click **Install GitHub App**, then complete
the GitHub App authorization flow. When GitHub redirects back,
Frontic detects that the same installation is being attached to a
new Frontic team and finalises the connection. Both Frontic
teams can then target repositories under the same GitHub
organization independently — each has its own repository access
settings and its own job and workspace history.
Note: this is distinct from connecting *multiple* GitHub organizations to a single Frontic project — use the **Add GitHub Organization** button in Studio → Settings → GitHub for that.
The Frontic GitHub App installation for that organization doesn't have
permission to create repositories. Reconfigure the installation to
grant repository administration access — in **Studio → Settings →
GitHub**, use **Manage Repositories** on that org's card to open its
GitHub App settings, then approve the added permission (a GitHub org
admin may need to do this). Once granted, reopen the dialog and try
again.
The GitHub App installation for that org may not include the repositories you need. In **Studio → Settings → GitHub**, find the installation card for the org you just added and click **Manage Repositories**. This opens the GitHub App's installation settings for that org, where you can add the missing repositories and save. The picker refreshes immediately.
## Related
How the stack-side of your changes moves between stages. (Plus plan.)
Where chat-driven changes happen before they hit the connected
repository.
### Repository access
After the App is installed, each connected organization shows its own **Repository Access** panel in Studio Settings listing the repositories Studio can see for that org. The list is paginated — load more if you have many repos. If you have multiple organizations connected, each appears as its own installation card with its own Repository Access panel.
To change which repositories the App can access for an org, click **Manage Repositories** on that org's installation card. That redirects you to the GitHub App's installation settings on GitHub, where you can add or remove repositories. Save there, and GitHub redirects you back to Studio with the new list. Changes apply immediately for everyone on the project.
Use this when:
* A new repository was created after the App was installed and isn't in the picker yet
* You want to scope Studio to a narrower set of repos than what's currently granted
* You're auditing what Studio has access to
### What Studio does with the connection
When a job runs against a GitHub repository:
* The workspace **clones the repo** when the job starts
* The Studio chat creates **a new branch** off the base branch you pick
* Every file edit is a change on that branch
* Clicking Commit in the Changes panel commits on the branch and pushes to GitHub in one step
* Pull requests target the base branch
Everything is standard Git. Commits are authored by the GitHub App, not by the teammate who ran the job — so don't use the commit author field for attribution.
### Multi-repository projects
Each Studio job picks its own repository and base branch at creation — there's no per-project default repository to override. If your team maintains multiple frontends (web storefront, mobile app, admin surface) against the same Frontic project, each can live in its own repo — including repos across different GitHub organizations if you have multiple orgs connected — and jobs target whichever one you're working on.
### Revoking access
Two ways:
* **From Frontic** — Go to **Studio → Settings → GitHub** and click **Uninstall & Disconnect** on the installation you want to remove. Each connected organization is disconnected independently — removing one does not affect other connected organizations. Existing jobs that target that org's repositories finish; no new jobs can be created against those repositories until the App is reinstalled.
* **From GitHub** — in your organization's **Settings → GitHub Apps → Frontic Studio**, click **Uninstall**. GitHub enforces immediately.
Neither deletes already-committed work — that's in your Git history and belongs to you.
## Create a repository from a job
Not every job starts from GitHub. When you scaffold a job from a [framework template](/studio/frontic-studio) (Nuxt or Next.js), the [workspace](/studio/workspace) has no repository connected. **Create Repository** enables you to create a new GitHub repository from a template job in one step.
The action lives in the workspace panel toolbar and only appears while the job has **no repository connected**.
### Before you start
Two things must be in place:
* **GitHub connected at the project level** — the Frontic GitHub App is installed (see [Connecting GitHub](#connecting-github)).
* **At least one organization installation** — the org picker lists GitHub *organizations* only. Personal GitHub accounts aren't supported here. If your only installation is a personal account, connect an organization from **Studio → Settings → GitHub** first.
The dialog handles the gaps for you. If GitHub isn't connected at all, it shows an inline **Connect GitHub** prompt — the same install flow as [Studio Settings or Create Job](#connecting-github). If GitHub is connected but no organization is available, it links you to **Studio → Settings → GitHub** to add one.
### Creating the repository
Click **Create Repository** in the workspace panel toolbar.
Choose the GitHub organization to create the repository under. When
only one organization is connected, it's pre-selected.
Enter a name — letters, numbers, hyphens, underscores, and dots, 1–100
characters. Add an optional description if you like.
The repository is **private** by default. Flip the toggle to make it
public.
Studio creates the repository under the organization, pushes the
current workspace as the initial commit, and connects it to the job.
Once it's done, the job is a normal GitHub-backed job: the [Changes panel](/studio/workspace#the-changes-panel) is live, and the full [Commit](#commit) → push → [open a pull request](#open-a-pull-request) flow works exactly as it does for a job that started from an existing repository.
The repository is created empty and your current workspace lands as the first commit on the default branch (`main`). There's no separate base branch to choose — this flow both creates the repo and pushes to it in one confirm.
## Commit
Once Studio has made file changes you're happy with, commit them from the workspace. The [Workspace](/studio/workspace) page covers reviewing the diffs in detail; this section covers the commit mechanics.
Before committing, open the Changes panel and read every file — not
only the ones you expected. Agents sometimes touch imports, shared
utilities, or generated files you didn't mention. Worth knowing
what landed.
Studio drafts a commit message from the diff as soon as the dialog
opens. If you want to write your own commit message, just start
typing — your text is kept and the suggestion is dropped.
The dialog has a **Commit changes to** row that shows the branch
the commit will land on — the workspace's feature branch by default.
Click the row to expand it and switch to a different existing branch
or create a new one (under the hood it's the standard branch
selector with **Existing branch** and **Create new branch**
options). Leave it collapsed when the default is right.
Studio commits on the branch and pushes to GitHub in one step. The
first commit creates the branch on GitHub; later commits fast-forward
it. The Changes panel shows the branch up to date with remote when
it's done.
## Open a pull request
Once your branch has commits on GitHub, the Changes panel shows a link to open a pull request. Clicking it takes you to GitHub's compare page with the base and compare branches pre-filled via URL params.
From there you write the PR title and description in GitHub's own form — Studio doesn't compose PR content itself. Add the context your team needs (ticket links, screenshots, test notes) and create the PR as you normally would.
Take 30 seconds to write a real description: *what* changed, *why* it changed, and *what to look at first*. A good description saves more review time than it takes to write.
## Merging and cleanup
When the PR is approved and CI is green, merge it like any other PR. After merge:
* The feature branch can be deleted (your team's usual branch cleanup applies)
* The Studio job stays around — you can reopen it later for follow-up work in the same workspace
* If the change involved stack configuration (new blocks, listings, pages) that went through a preview [release](/releases/overview), promote the preview if you haven't already
## Coordinating with releases
A PR is about code. A [release](/releases/overview) is about stack config. When a change involves both — which most meaningful changes do — the order matters:
Create a preview in the admin app so the stack state is frozen.
Run `frontic generate --env preview` (or `frontic generate` and pick
**preview** from the prompt). The SDK embeds a version token pointing
at the preview.
Commit the generated client files alongside the frontend code that
uses them. Push the branch.
Mention in the description that there's an accompanying preview
release and link to it. Reviewers need to know the PR depends on
stack state that isn't `public` yet.
Your deploy pipeline builds a preview deploy. Because the SDK in
the branch carries the preview token, the preview deploy talks to
the Frontic preview — so QA validates the full stack, not only
the code.
Production deploys the new frontend. Because the SDK carries the
preview token, production is now talking to the Frontic preview —
so real traffic hits the validated stack state.
Promote the preview to `public`. The preview version becomes the
new public; the token your frontend is pinned to falls back to
`public` gracefully — same content, no code change needed.
The preview-then-promote sequence gives you a QA checkpoint where the frontend *and* stack state are both frozen, so you're not chasing a moving target. For a worked example, see [Your First Feature](/essentials/your-first-feature).
Preview — the next iteration of this flow pairs a [draft](/releases/overview#drafts) with the Studio job and the PR, so the stack sandbox, the frontend code, and the release that ships both move together. In preview today; expanding as it matures.
## Troubleshooting
The repository wasn't included in the App's repository access grant.
In **Studio → Settings → GitHub**, click **Manage Repositories** to
open the GitHub App's installation settings, add the missing repo,
and save. The picker refreshes with the new list.
Most often this is an organization permissions issue: the org
requires admin approval for third-party App installs, and the
request is still pending. Ask a GitHub org admin to approve (or
install) the Frontic Studio App for the organization. If you
cancelled the install partway through, just click **Install GitHub
App** again.
Once the App is installed on the org, every teammate on the Frontic
project gets Git access — no per-user GitHub setup is required. If
a teammate is blocked, check that the repository they're working on
is included in the App's repository access (see **Manage
Repositories**) and that they have the Frontic permissions to use
Studio in this project.
Supported. From the second Frontic team, go to **Studio →
Settings → GitHub** and click **Install GitHub App**, then complete
the GitHub App authorization flow. When GitHub redirects back,
Frontic detects that the same installation is being attached to a
new Frontic team and finalises the connection. Both Frontic
teams can then target repositories under the same GitHub
organization independently — each has its own repository access
settings and its own job and workspace history.
Note: this is distinct from connecting *multiple* GitHub organizations to a single Frontic project — use the **Add GitHub Organization** button in Studio → Settings → GitHub for that.
The Frontic GitHub App installation for that organization doesn't have
permission to create repositories. Reconfigure the installation to
grant repository administration access — in **Studio → Settings →
GitHub**, use **Manage Repositories** on that org's card to open its
GitHub App settings, then approve the added permission (a GitHub org
admin may need to do this). Once granted, reopen the dialog and try
again.
The GitHub App installation for that org may not include the repositories you need. In **Studio → Settings → GitHub**, find the installation card for the org you just added and click **Manage Repositories**. This opens the GitHub App's installation settings for that org, where you can add the missing repositories and save. The picker refreshes immediately.
## Related
How the stack-side of your changes moves between stages. (Plus plan.)
Where chat-driven changes happen before they hit the connected
repository.