> ## Documentation Index
> Fetch the complete documentation index at: https://docs.frontic.com/llms.txt
> Use this file to discover all available pages before exploring further.
# Your First Feature
Build a real feature on your Frontic project and see what the workflow looks like end to end — both in Studio and in your own editor.
**Prerequisite:** A project with data and a Context Base set up. If you
don't have one yet, do [Quick Setup](/essentials/quick-setup) first.
## What you're building
A **product search page** at `/products` with:
* a Search Listing that returns products from your Data Storage
* filters for category and variants
* sorting by price and product name
* full-text search
* a frontend page that renders the results
***
## In Studio
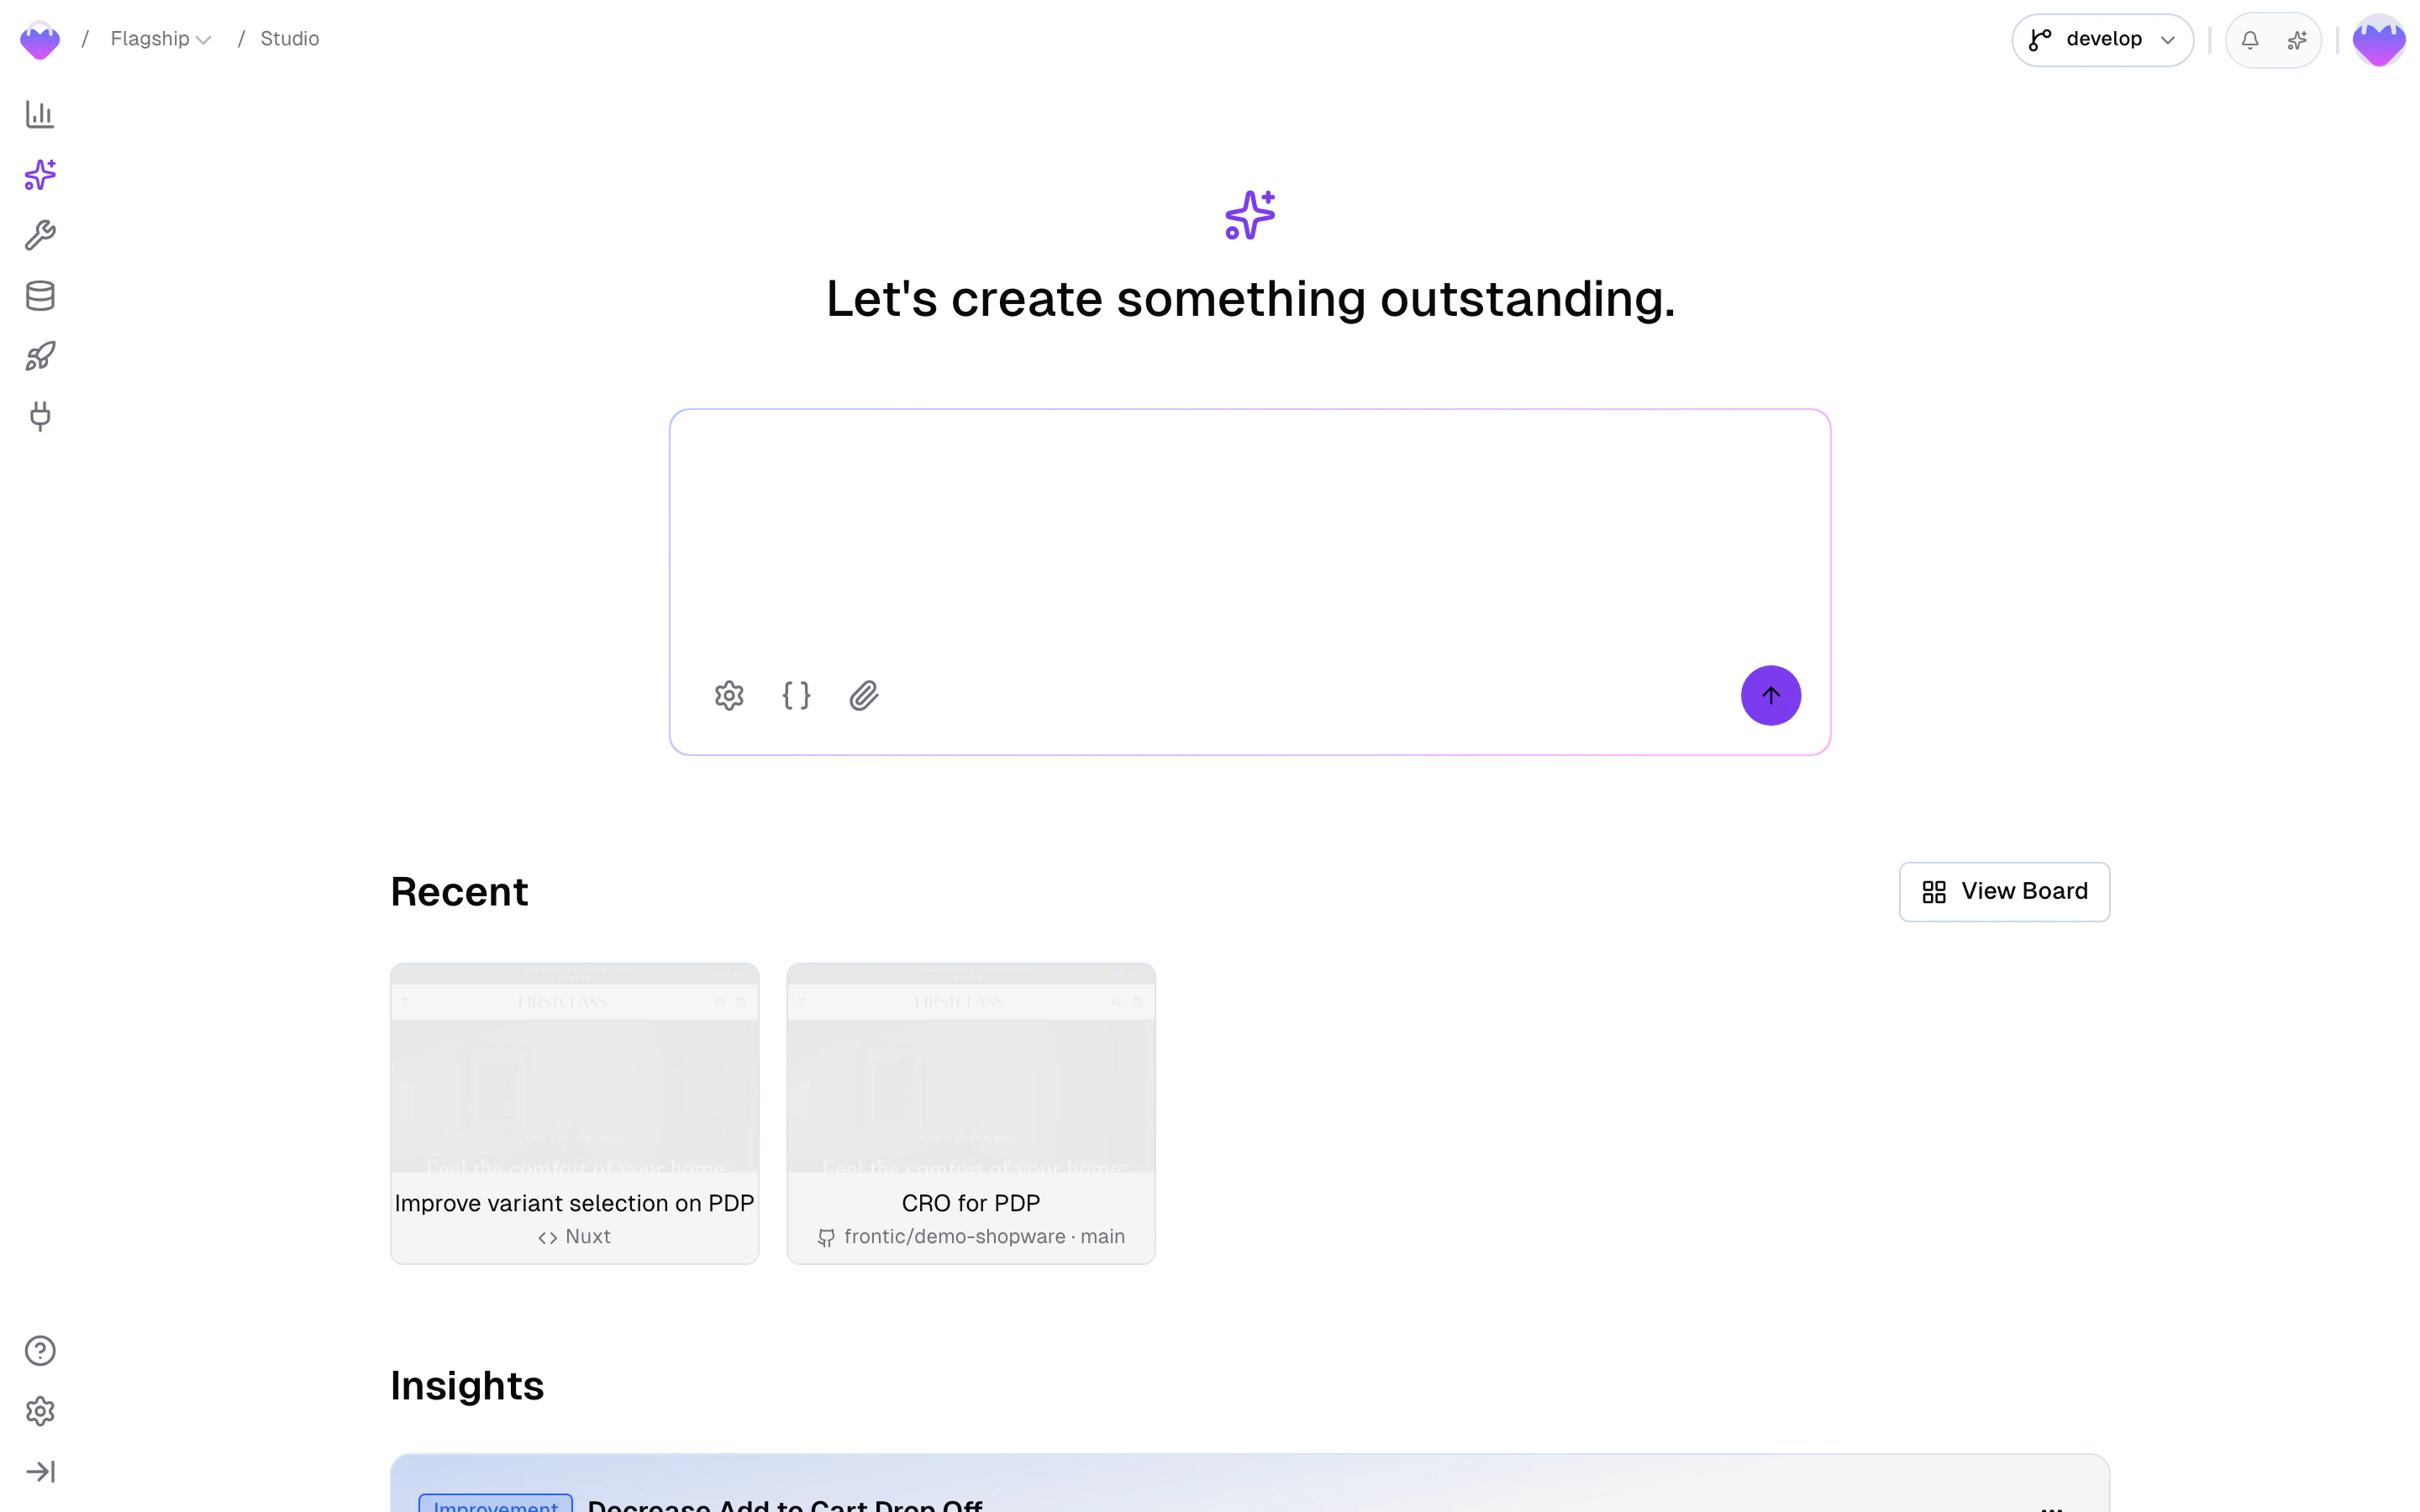
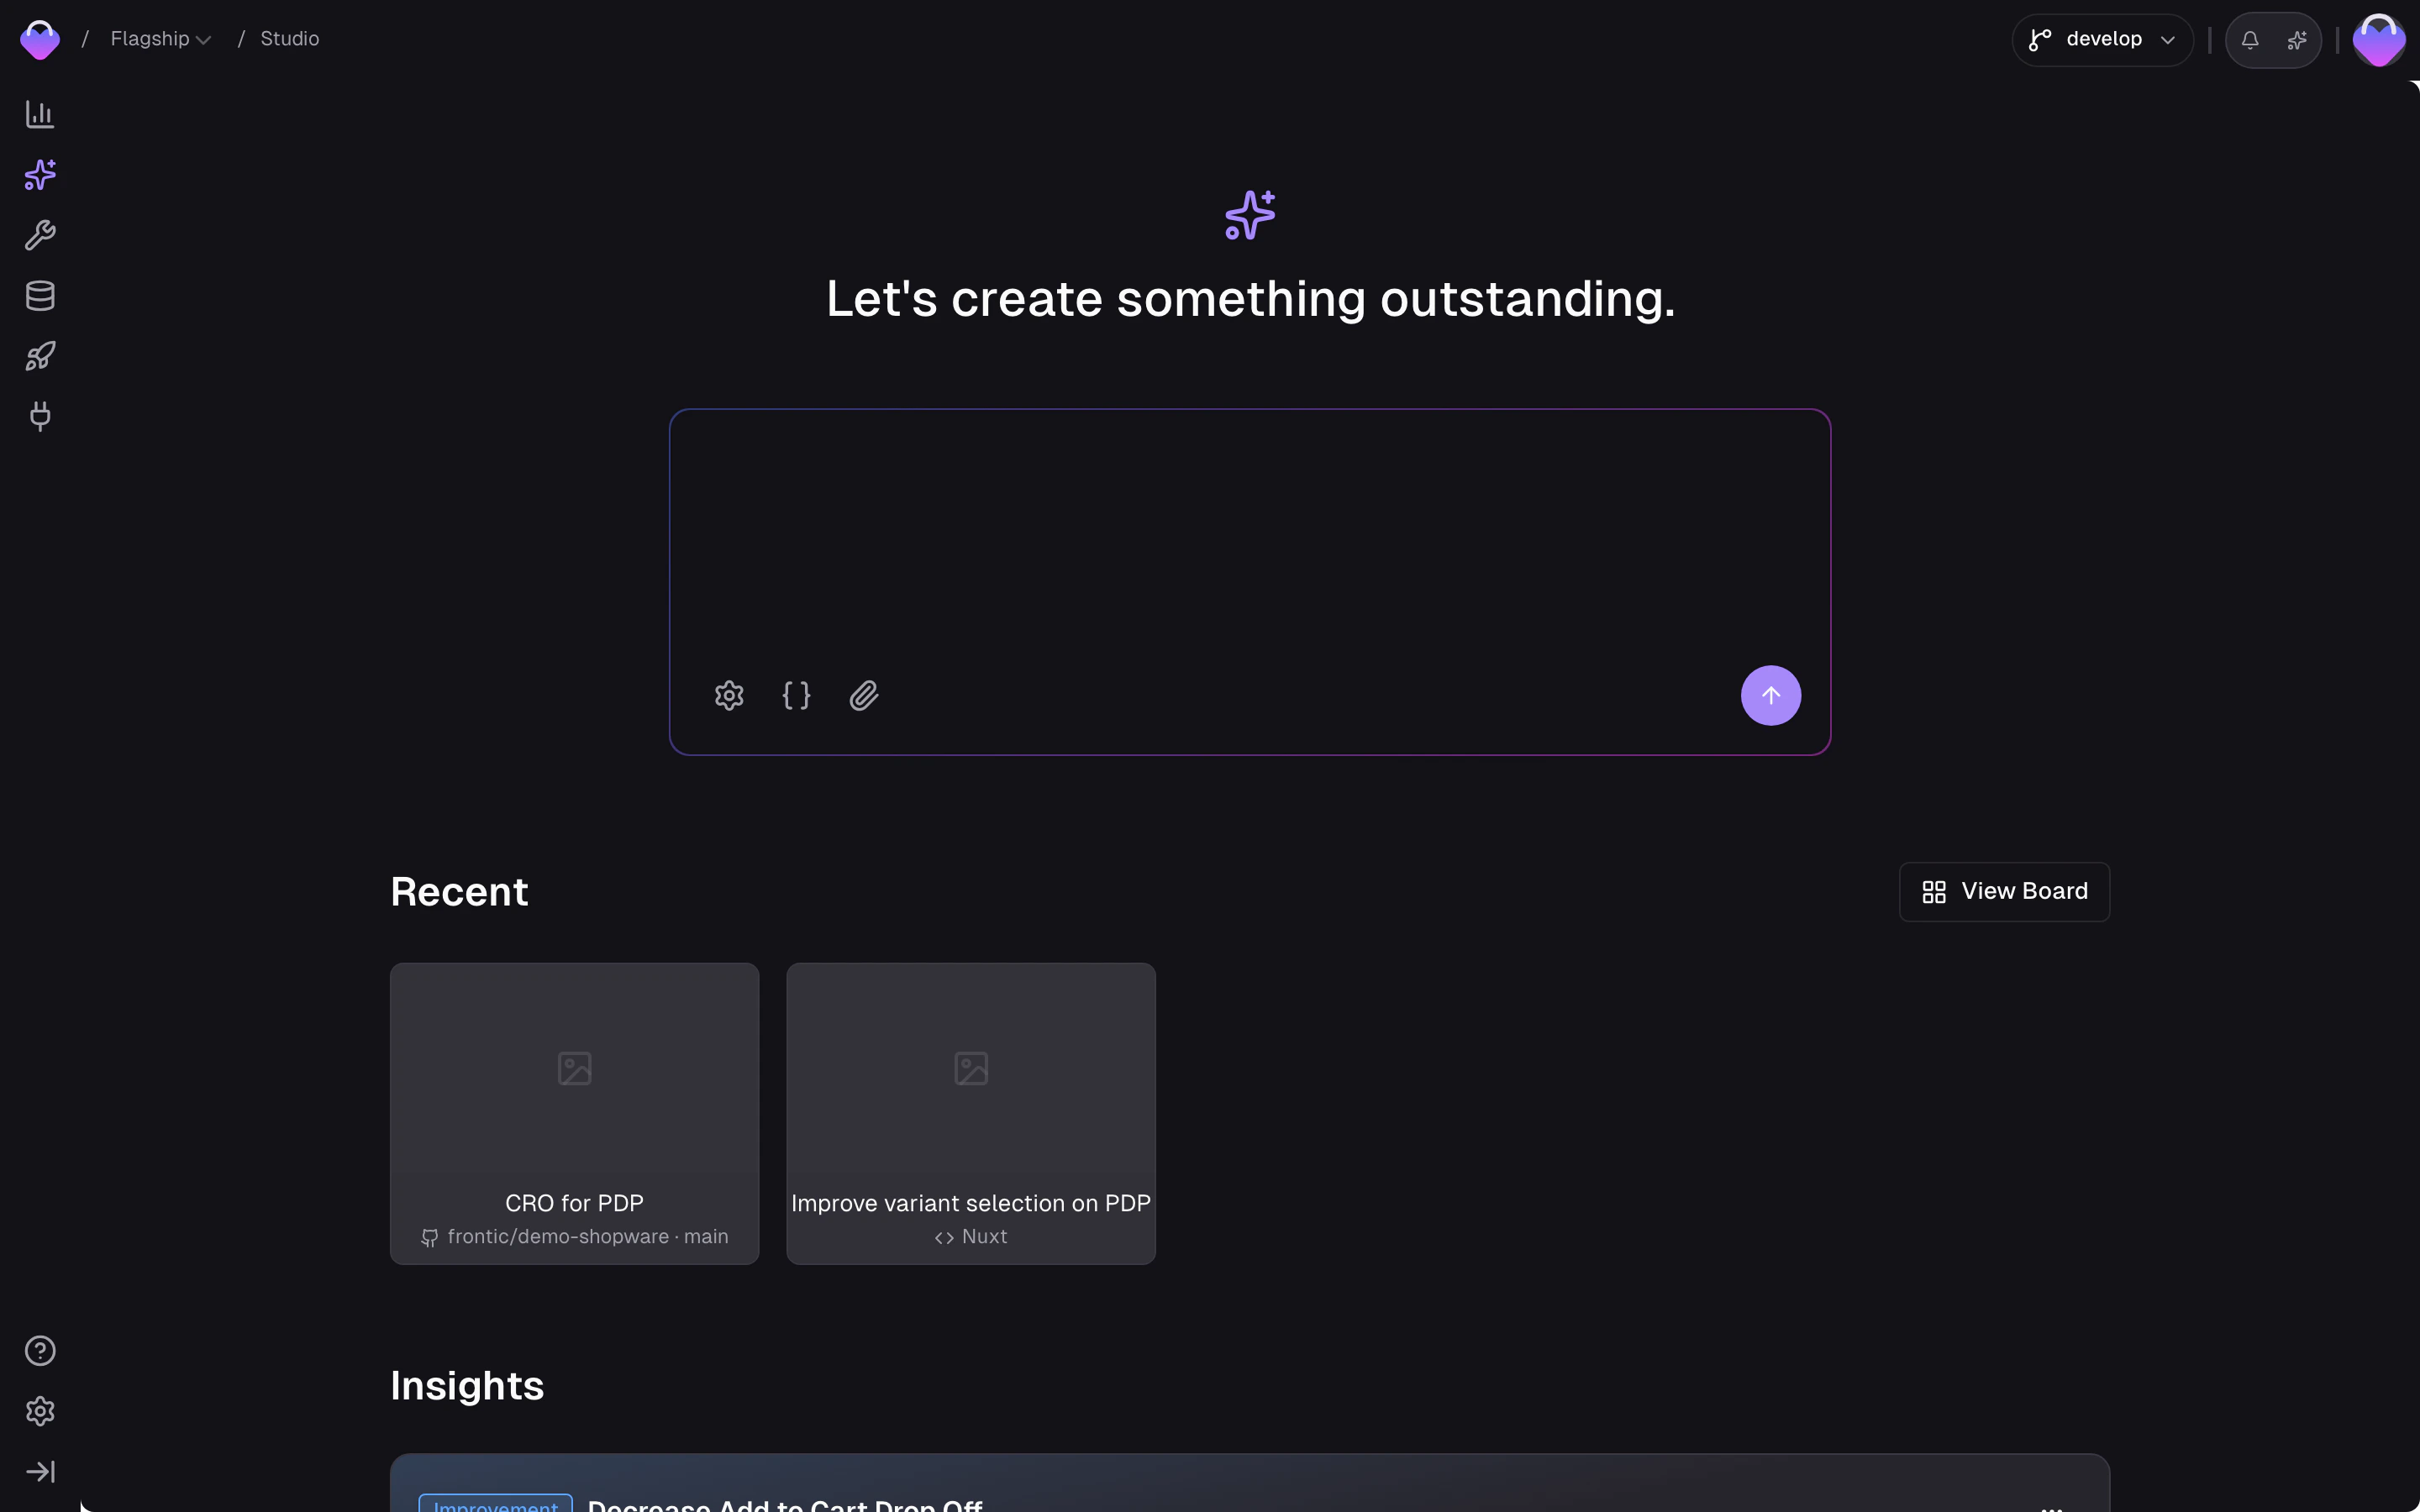
Open **Studio** from the sidebar and paste the following prompt:
Build a product search page at /products. Use the Products data storage.
Show product image, title, and price. Add filters for category and variants,
sorting by price and product name, and a full-text search input.
Use the existing design system.
Studio creates a workspace and gets to work. You'll see the live preview update as it builds — the search listing, the page route, the frontend components, all wired together.
### Review and iterate
Once the first version is up in the preview, check the result:
* Does the layout look right on desktop? Switch to mobile viewport and check there too.
* Share the preview link with a teammate for a second opinion.
* Not happy with something? Tell Studio in the chat what to change — it'll iterate until you're satisfied.
This loop — preview, feedback, iterate — is where Studio shines. Keep going until the page looks and works the way you want.
### Ship it
When you're happy with the result:
1. **Commit and push** the changes from the workspace.
2. **Open a pull request** on GitHub.
3. **Merge and deploy.**
See [GitHub Integration](/studio/github-integration) for the full shipping flow.
***
## In your editor
Same feature, built from your own editor using Nuxt with the [Frontic Nuxt module](/reference/nuxt-module), the [CLI](/reference/frontic-cli), and [MCP](/ide/mcp-tools).
### Create a Nuxt project
```bash pnpm theme={"theme":"css-variables"}
pnpm dlx nuxi@latest init my-shop --module @frontic/nuxt
cd my-shop
```
```bash npm theme={"theme":"css-variables"}
npx nuxi@latest init my-shop --module @frontic/nuxt
cd my-shop
```
```bash yarn theme={"theme":"css-variables"}
yarn dlx nuxi@latest init my-shop --module @frontic/nuxt
cd my-shop
```
```bash bun theme={"theme":"css-variables"}
bunx nuxi@latest init my-shop --module @frontic/nuxt
cd my-shop
```
### Log in and set up your project
```bash frontic theme={"theme":"css-variables"}
frontic login
frontic project
frontic mcp init --client cursor
frontic context init
```
```bash pnpm theme={"theme":"css-variables"}
pnpm dlx @frontic/cli@latest login
pnpm dlx @frontic/cli@latest project
pnpm dlx @frontic/cli@latest mcp init --client cursor
pnpm dlx @frontic/cli@latest context init
```
```bash npm theme={"theme":"css-variables"}
npx @frontic/cli@latest login
npx @frontic/cli@latest project
npx @frontic/cli@latest mcp init --client cursor
npx @frontic/cli@latest context init
```
```bash yarn theme={"theme":"css-variables"}
yarn dlx @frontic/cli@latest login
yarn dlx @frontic/cli@latest project
yarn dlx @frontic/cli@latest mcp init --client cursor
yarn dlx @frontic/cli@latest context init
```
```bash bun theme={"theme":"css-variables"}
bunx @frontic/cli@latest login
bunx @frontic/cli@latest project
bunx @frontic/cli@latest mcp init --client cursor
bunx @frontic/cli@latest context init
```
This logs you in, selects your project, installs the [MCP server](/ide/mcp-tools) for your editor (swap `cursor` for `claude`, `vscode`, `windsurf`, or `codex`), and syncs your [Context Base](/context-base/overview) so the agent knows your project conventions.
### Build the feature
In Claude Code, Cursor, or any MCP-connected editor, describe the full feature:
Build a product search page at /products. Use the Products data storage.
Create a product card block, a search listing with filters for category
and variants, sorting by price and product name, and full-text search.
Generate the client SDK, create the page component using the
useFronticSearch composable, and start the dev server so I can preview it.
The agent uses the [MCP server](/ide/mcp-tools) to configure the backend, generates the SDK via the CLI, scaffolds the frontend, and opens a dev server — all from one prompt. The following steps break down what happens under the hood.
### Create the backend
Your frontend needs a backend that serves product data in the right shape. The fastest way to set that up is to let [Buddy](/essentials/buddy) handle it — paste this into the chat:
Create a product card block from the Products data storage with image, title,
and price. Then create a search listing called ProductSearch that returns
product cards, with filters for category and variants, sorting by price and
product name, and full-text search enabled.
Want full control? You can set it all up yourself through the [API Builder](/api-builder/overview):
* Create a **Block** called `ProductCard` from the Products data storage — see [Detail Blocks](/api-builder/blocks)
* Create a **Listing** called `ProductSearch` that returns `ProductCard` blocks — see [Search Listings](/api-builder/listings)
* Configure filter and sorting options on the listing
### Generate the client SDK
```bash frontic theme={"theme":"css-variables"}
frontic generate
```
```bash pnpm theme={"theme":"css-variables"}
pnpm dlx @frontic/cli@latest generate
```
```bash npm theme={"theme":"css-variables"}
npx @frontic/cli@latest generate
```
```bash yarn theme={"theme":"css-variables"}
yarn dlx @frontic/cli@latest generate
```
```bash bun theme={"theme":"css-variables"}
bunx @frontic/cli@latest generate
```
This writes a typed SDK into your project. The `ProductSearch` listing is now available as a composable.
### Build the search page
Create `pages/products.vue`:
```vue theme={"theme":"css-variables"}
{{ group.label }}
{{ item.name }}
{{ item.price }}
```
See the [Nuxt module reference](/reference/nuxt-module#usefronticsearch) for the full `useFronticSearch` API.
### Ship it
Commit, push, open a PR, deploy — same as any other change in your repo.
***
## Next steps
Understand the primitives you used — Data Storages, blocks, listings,
pages, and releases.
Everything Studio can do, in one place.