> ## Documentation Index
> Fetch the complete documentation index at: https://docs.frontic.com/llms.txt
> Use this file to discover all available pages before exploring further.
# Quick Setup
The fastest path to a working Frontic project with real data flowing through it. By the end of this page you'll have a project, storages, and data you can build against.
Head to the [admin app](https://app.frontic.com) and sign up. Once you're in, go to **Settings → Projects** and click **Add Project**. Give it a name and set it **Active**.
Then open the project settings and add at least one **Region** and one **Locale** — Frontic needs these before it can serve data. If you're unsure, pick your primary market and default language. You can add more later. See [Project Settings](/project-settings/general) for the full reference.
Pick the route that matches where you are.
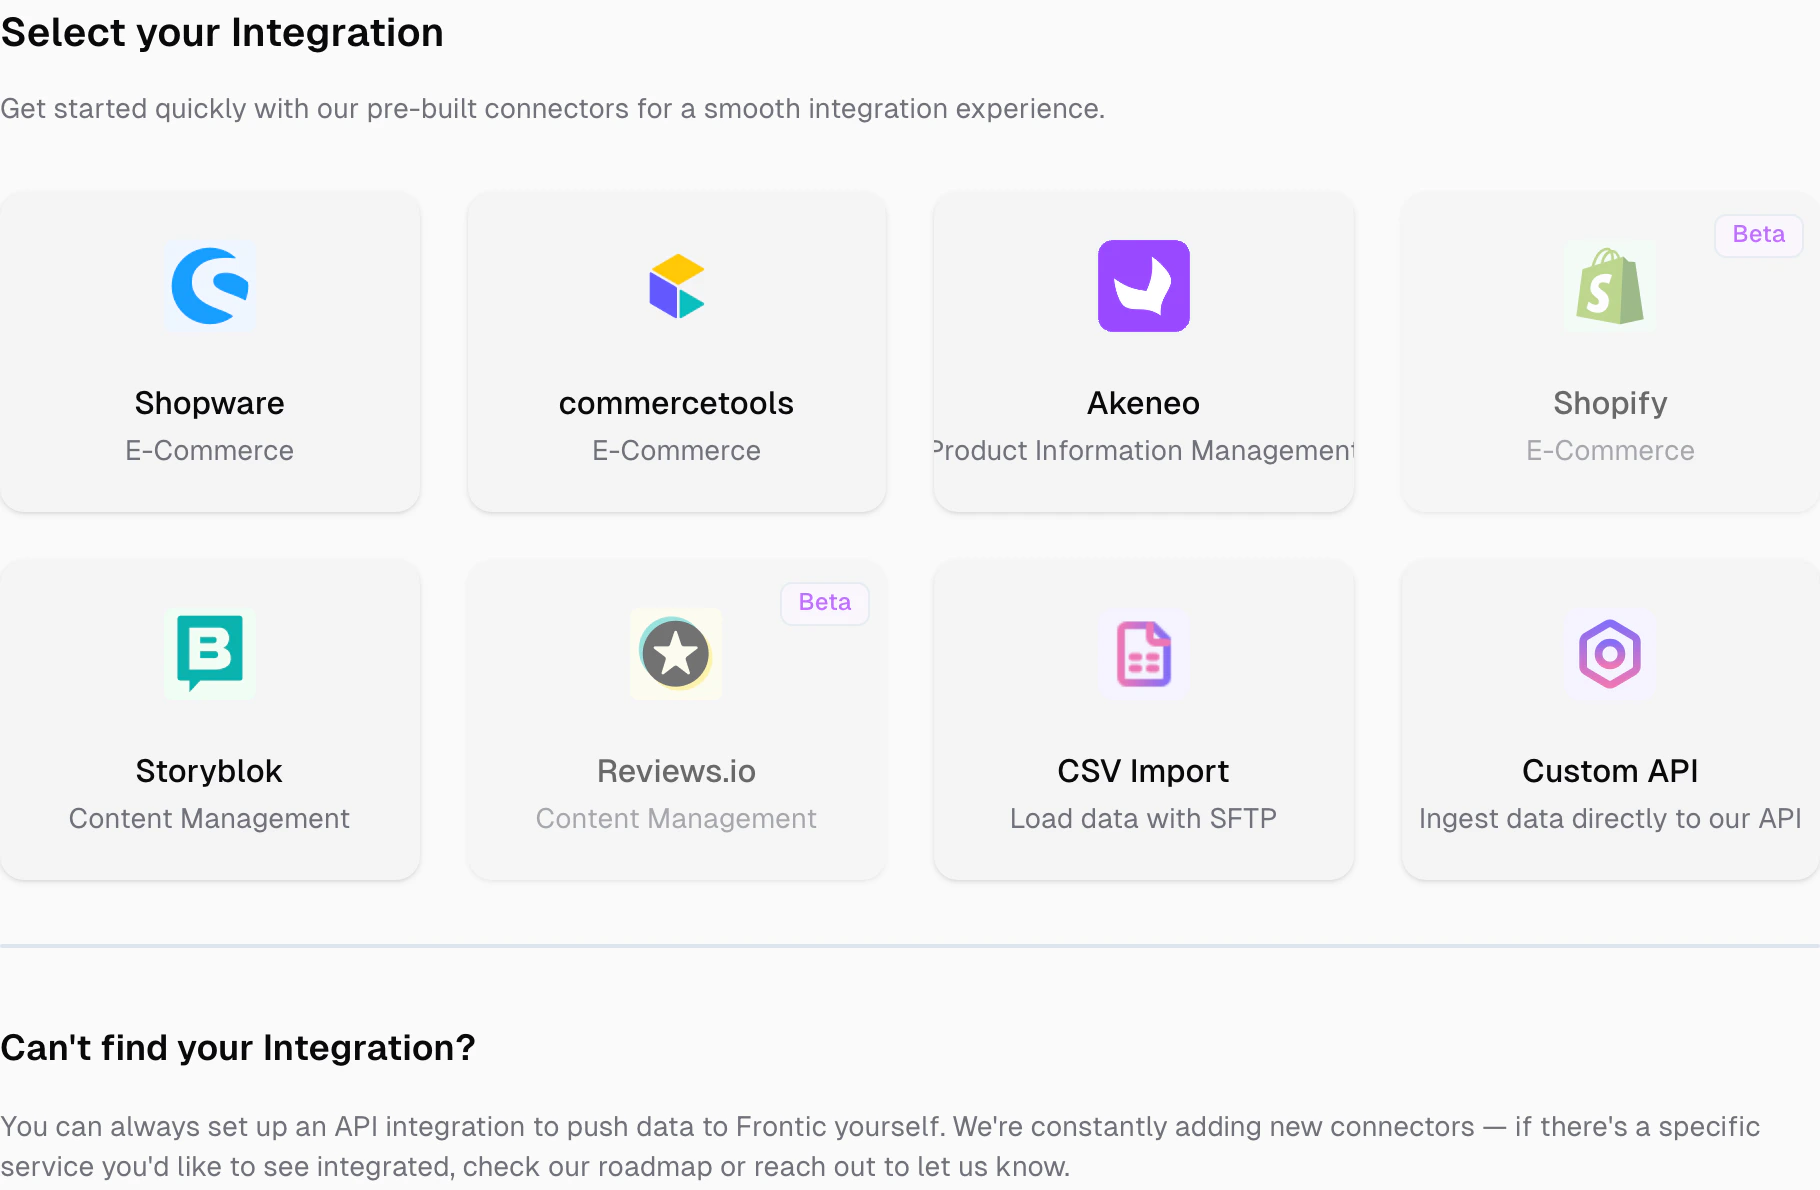
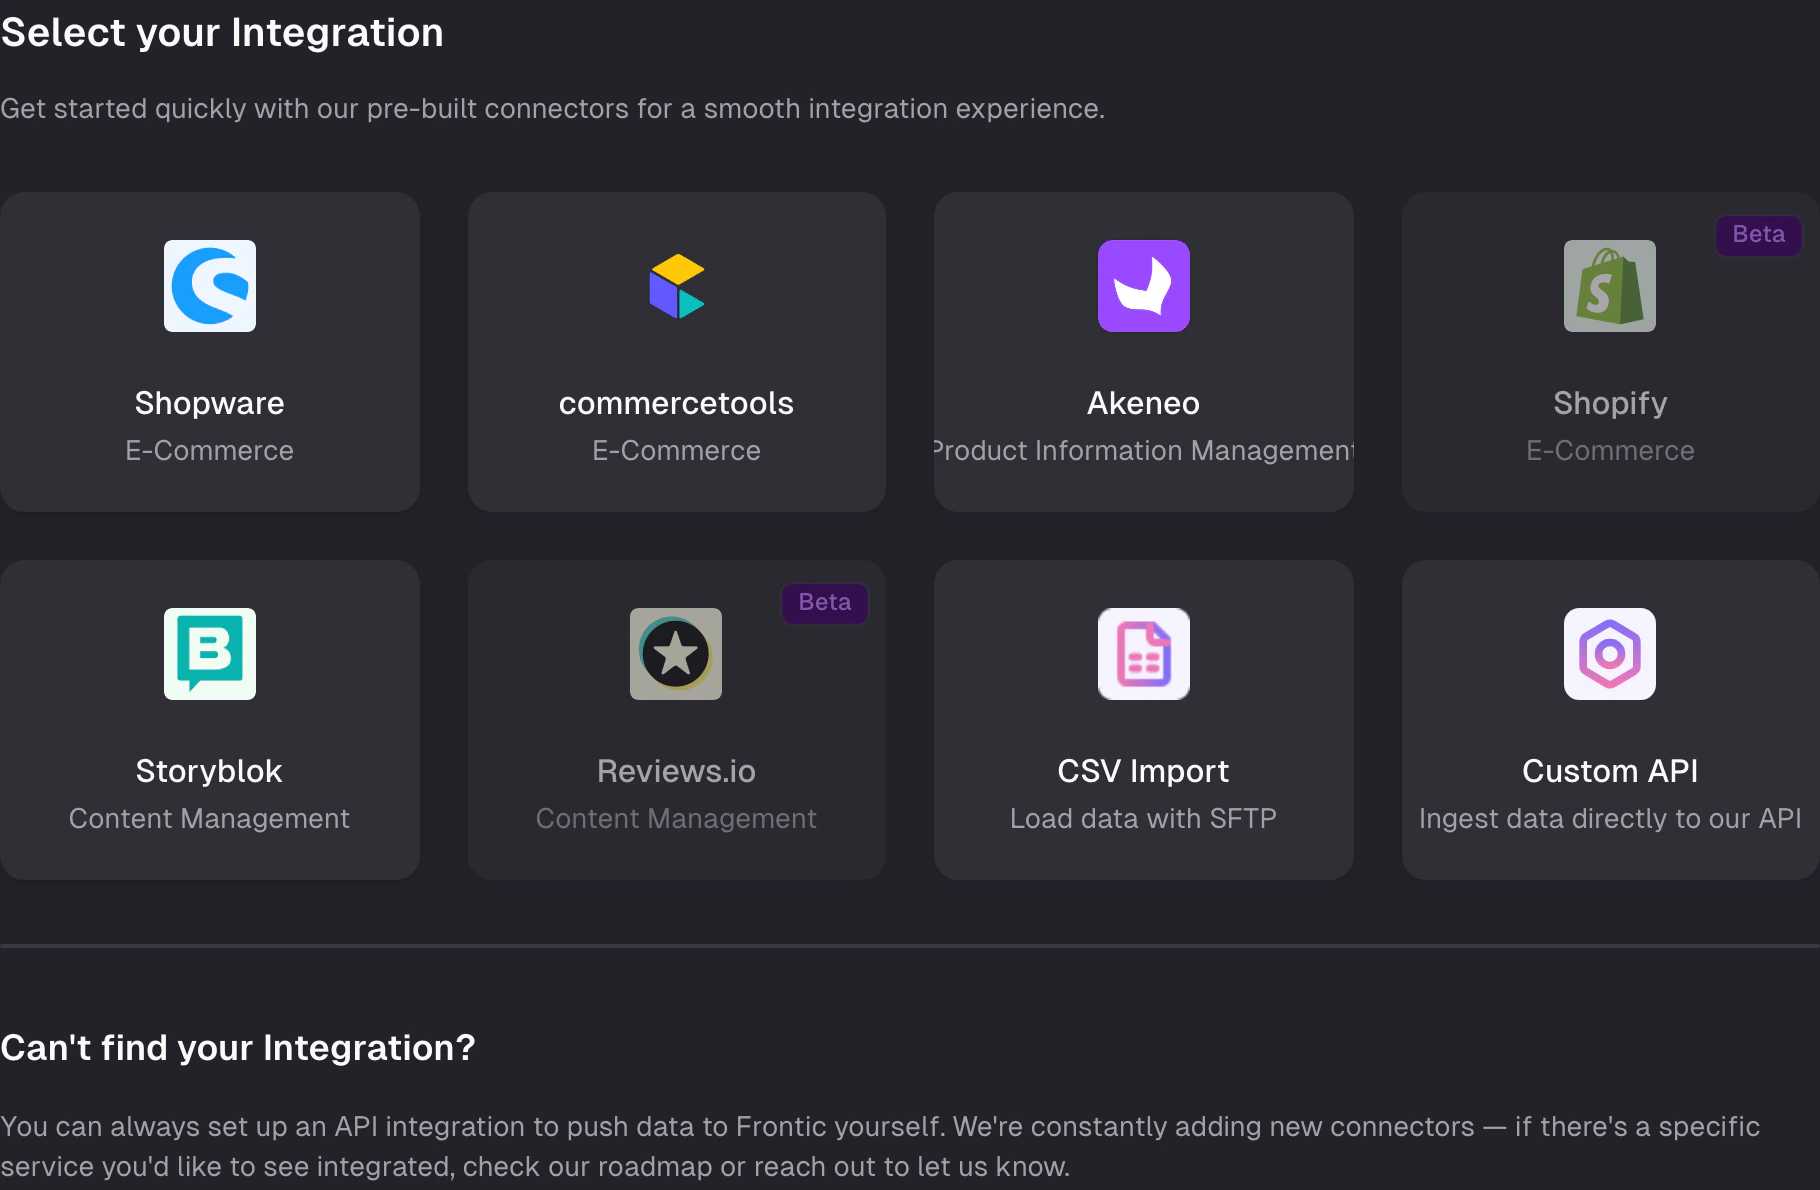
If you want to wire things up yourself, connect a source through a [Connector](/connectors/overview). Shopify, Shopware, commercetools, Akeneo, Storyblok, Contentful, and more are supported — or bring your own via [Custom Integration](/connectors/custom).
 Once the connector is running, raw records flow into a **Feed**. From there, set up a **Data Sync** to map feed data into your [Data Storages](/data-integration/data-storages). The [Value Composer](/data-integration/value-composer) handles the per-field shaping — defining how each target field gets its value from the source.
[Buddy](/essentials/buddy) can help here. Describe the source shape and the target shape, and Buddy will propose a sync configuration you can review and approve.
Already have a live shop? Paste its URL into the **Shop Importer** and let Frontic do the rest.
Frontic profiles the site automatically — it detects the platform, locales, currencies, navigation structure, categories, and product model. Once the profile is ready, review it and adjust anything that doesn't look right.
When you confirm, Frontic provisions the entire project for you: Data Storages, Data Syncs, field mappings, and the initial data import. No manual wiring needed.
The shop importer is available for Shopify and Shopware stores today, with more platforms coming.
The [Context Base](/context-base/overview) is the shared knowledge layer that every agent reads — whether you build in Studio or in your editor with our CLI and MCP. It holds your design system, coding standards, tone of voice, and business context so agents don't start from zero.
Open **Studio** from the sidebar and hit the setup button on the landing page. Studio walks you through a short interview — what you sell, your brand, your design preferences, your coding conventions — and generates the full context for you.
You can rerun the setup any time (`/init-context`) to update your context
as the project evolves. See [Context Base](/context-base/overview) for more.
Your project has data in it, Studio knows your conventions, and the backend is live. Pick a route and start shipping.
A walkthrough that shows you Studio and your editor side by side.
Open a Studio job and start creating the experience.
## Common first problems
The importer currently supports Shopify and Shopware. If your shop runs on a different platform, use the **Connect your stack** route and pick the matching connector — or a custom integration if there's no pre-built one.
Connectors poll or sync on their own schedule. Give it a minute, then check the feed records view. If nothing shows up, check the connector's status and credentials in the **Integrations** section.
That's expected. The Data Sync + Value Composer step is where you map and transform. Start with a direct mapping for the fields that match 1:1 and use composer operations for the rest.
Once the connector is running, raw records flow into a **Feed**. From there, set up a **Data Sync** to map feed data into your [Data Storages](/data-integration/data-storages). The [Value Composer](/data-integration/value-composer) handles the per-field shaping — defining how each target field gets its value from the source.
[Buddy](/essentials/buddy) can help here. Describe the source shape and the target shape, and Buddy will propose a sync configuration you can review and approve.
Already have a live shop? Paste its URL into the **Shop Importer** and let Frontic do the rest.
Frontic profiles the site automatically — it detects the platform, locales, currencies, navigation structure, categories, and product model. Once the profile is ready, review it and adjust anything that doesn't look right.
When you confirm, Frontic provisions the entire project for you: Data Storages, Data Syncs, field mappings, and the initial data import. No manual wiring needed.
The shop importer is available for Shopify and Shopware stores today, with more platforms coming.
The [Context Base](/context-base/overview) is the shared knowledge layer that every agent reads — whether you build in Studio or in your editor with our CLI and MCP. It holds your design system, coding standards, tone of voice, and business context so agents don't start from zero.
Open **Studio** from the sidebar and hit the setup button on the landing page. Studio walks you through a short interview — what you sell, your brand, your design preferences, your coding conventions — and generates the full context for you.
You can rerun the setup any time (`/init-context`) to update your context
as the project evolves. See [Context Base](/context-base/overview) for more.
Your project has data in it, Studio knows your conventions, and the backend is live. Pick a route and start shipping.
A walkthrough that shows you Studio and your editor side by side.
Open a Studio job and start creating the experience.
## Common first problems
The importer currently supports Shopify and Shopware. If your shop runs on a different platform, use the **Connect your stack** route and pick the matching connector — or a custom integration if there's no pre-built one.
Connectors poll or sync on their own schedule. Give it a minute, then check the feed records view. If nothing shows up, check the connector's status and credentials in the **Integrations** section.
That's expected. The Data Sync + Value Composer step is where you map and transform. Start with a direct mapping for the fields that match 1:1 and use composer operations for the rest.